How to organise event photos: a practical workflow
SnapPix TeamPublished 14 Aug 202639 min read

The fastest way to organise event photos is this: centralise every source into one working folder, apply a consistent folder structure and filename convention, add metadata tags, deduplicate, then back up using the 3-2-1 rule. You can complete the first three steps quickly.
Here is your immediate action list:
2025-06-14_Wedding_0001.jpg.If you have 10 minutes right now, create your top-level event folder, connect your phone or card reader, and copy the files across. That single step prevents the most common problem: photos scattered across five devices and never found again.
The most reliable way to organise event photos is to impose structure at the point of import: create the event folder first, centralise every source into it, rename files consistently, tag with metadata, and back up before you edit anything.
| Point | Details |
|---|---|
| Centralise before sorting | Gather photos from all sources (phones, cards, guest uploads) into one working folder before renaming or editing anything. |
| Use a date-first folder structure | Name folders YYYY-MM-DD_EventName so they sort chronologically in any file browser and match camera timestamps. |
| Apply the 3-2-1 backup rule | Keep three copies on two media types with one offsite or cloud copy; verify each backup by checking file counts. |
| Tag with a short controlled vocabulary | Use a short set of consistent keywords (event name, location, activity, people) so photos remain searchable years later. |
| SnapPix handles guest collection | SnapPix’s QR upload and AI Smart Albums collect and group guest photos automatically, fitting directly into the centralise step. |
Photos from a single event typically live in more places than you expect: your own phone, a partner’s phone, a DSLR or mirrorless camera’s SD card, a GoPro, WhatsApp or iMessage threads, Google Photos, iCloud, Dropbox, and the camera rolls of every guest who attended.
Start by listing every source before you touch a file. Common ones include:
Transfer methods vary in speed and reliability. A wired USB connection is the fastest and preserves original file metadata, including the EXIF timestamp your camera wrote. Card readers are equally reliable for SD cards. Cloud downloads are convenient but can strip metadata or compress files depending on the service’s settings.
Pro Tip: Before transferring from cloud services, check the export settings. Google Photos’ “Download all” via Google Takeout preserves original resolution and EXIF data. Downloading individual photos from the web interface often does not. Always use the bulk export route.
Once everything is in one working folder, do not rename or sort yet. Verify the file count first, then proceed to your folder structure.
The 3-2-1 backup rule is the standard most professional photographers follow: keep 3 copies of your files, on 2 different media types, with 1 copy stored offsite. For a family birthday party, that might mean your laptop, an external hard drive, and Google Photos. For a wedding with many RAW files, it means a NAS drive, two external SSDs, and a cloud service such as Backblaze B2 or Amazon S3.
Each storage type has real trade-offs:
For most event hosts, a practical backup sequence looks like this:
Backup checklist before you start editing:
Do not skip the verification step. A corrupted copy that you discover six months later is effectively no copy at all.
Two practical structures cover most situations. Practised organisers commonly start with a date-first hierarchy because it preserves chronology and maps naturally to camera timestamps.
Date-first (year → month → event):
My Photos/
  2025/
    06_June/
      2025-06-14_Wedding_Smith/
        RAW/
        Edited/
        Selects/
        Exports/
    09_September/
      2025-09-20_Corporate_Offsite/
Event-first (event → year):
Events/
  Weddings/
    Smith_Wedding_2025-06-14/
  Corporate/
    Offsite_2025-09-20/
| Approach | Best for | Pros | Cons |
|---|---|---|---|
| Date-first | People with many events per year; anyone who browses by “when” | Matches camera timestamps; easy to spot gaps | Harder to find all photos of one recurring event |
| Event-first | Planners who return to specific events repeatedly | Intuitive for retrieval by occasion | Chronology breaks down across years |
A hybrid approach is often the most practical: use a date-first folder system as the master structure, then add event names and person tags via metadata so you get both chronological browsing and story-based search. The folder tells you when; the metadata tells you who and what.
Inside every event folder, use the same four subfolders:
A consistent process for creating and populating an event folder prevents fragmentation from the start. Follow this sequence every time:
2025-06-14_Wedding_Smith). Include the date at the start so folders sort chronologically in any file browser.RAW/Camera1, RAW/GuestUploads). Merge them only after renaming.For events that span multiple days (a three-day festival, a weekend wedding), avoid duplicating the folder. Instead:
2025-08-22-24_Festival_GreenfieldDay1, Day2, Day3This way, every file has one home and you never wonder which copy is the master.
Camera-generated filenames like IMG_4821.JPG or DSC_0047.NEF tell you nothing. A stable naming convention makes files sortable, searchable, and safe to merge from multiple sources without collisions.
A reliable pattern combines four elements:
2025-06-14Wedding_SmithCAM1, GUEST0001Result: 2025-06-14_Wedding_Smith_CAM1_0001.jpg
This format sorts correctly in any file browser, identifies the source camera at a glance, and avoids filename clashes when merging folders from multiple contributors.
Tools for batch renaming:
Safe batch rename workflow:
Folder structure gets you to the right event. Metadata gets you to the right moment within it. Adobe Lightroom Classic provides IPTC/XMP metadata fields, keyword hierarchies, and smart collections that make event photo archives genuinely searchable, not just browsable.
The key metadata fields to populate for every event:
A short controlled keyword vocabulary prevents the chaos of 40 slightly different tags for the same concept. A workable starter list:
| Category | Example keywords |
|---|---|
| Event type | Wedding, Birthday, Corporate, Graduation, Party |
| Activity | Ceremony, Reception, Speeches, Cake, Dancing, Group shot |
| People | Smith-Family, Jones-Family, Bridal-Party |
| Location | New-York, Central-Park, Grand-Ballroom |
| Status | Select, Edited, Delivered, Archive |
Keep the vocabulary short and consistent. Twelve well-chosen keywords beat 200 inconsistent ones.
Face recognition and smart albums reduce manual tagging significantly. Tools that offer face grouping (Lightroom Classic, Apple Photos, Google Photos) cluster images by person automatically. You confirm the identity once per cluster, and every photo of that person is tagged. For large events, AI-powered sorting platforms use face recognition and QR upload flows to sort thousands of images and deliver personalised galleries to attendees, cutting manual sorting time considerably.
A typical smartphone shooter produces 200 photos for every 30 worth keeping. A multi-camera event can generate thousands of near-identical frames. Culling before editing saves hours.
A practical culling workflow:
Tools for deduplication and culling:
For a single shooter, one culling pass typically takes a moderate amount of time per several hundred images. For multiple contributors, run deduplication first to remove identical files before culling, otherwise you will rate the same shot twice.
The right tool depends on your volume and how much manual work you want to do. Three broad categories cover most needs:
Desktop editors with DAM features (Digital Asset Management): Lightroom Classic is the professional standard for keywording, smart collections, and non-destructive editing in one place. Apple Photos works well for personal libraries on Mac and iPhone, with face grouping and shared albums built in. Both support folder-watch imports that pull new files in automatically when you connect a device.
Cloud-based services: Google Photos offers free storage (with compression above 15 GB), automatic face grouping, and searchable object recognition. Amazon Photos gives Prime members unlimited original-quality photo storage. Neither replaces a local backup, but both add a convenient offsite copy and a searchable index.
AI sorting engines for events: Event-focused platforms use face recognition and QR-based upload flows to sort large volumes automatically and deliver personalised galleries. SnapPix uses AI Smart Albums to group and curate guest contributions without manual sorting, which is particularly useful for corporate events where hundreds of photos arrive from multiple sources.
Useful automations to set up:
Compatibility notes: RAW formats vary by camera manufacturer (Canon CR3, Nikon NEF, Sony ARW). Confirm your chosen tool supports your camera’s RAW format before committing to a workflow. Most cloud services accept JPEG and HEIC natively; RAW support varies.
Guest photos are often the richest source of candid moments, and the hardest to collect. Most guests will not email you files, and shared album invites get ignored. The solution is to remove every barrier at the point of capture.

A three-stage guest photo collection workflow:
Before the event:
During the event:
After the event:
RAW/GuestUploads subfolder of your event folder.SnapPix is built specifically for this workflow. Guests scan a QR code and upload directly from their browser, with no app to install. The upload window stays open for three months, so late contributors are not excluded. AI Smart Albums group the incoming photos automatically, which means you spend less time sorting and more time enjoying the results.
Privacy and access notes: always include a consent prompt at the upload stage. SnapPix galleries are password-protected, so only people with the link and password can view or download images. For corporate events, check your organisation’s data policy before sharing images that include employees or clients. Delete any images that were uploaded in error or that show individuals who have withdrawn consent.
Pro Tip: Use photo challenges to increase guest participation. A simple prompt like “Best table decoration” or “Funniest moment” gives guests a reason to pick up their phone and contributes a wider variety of shots to your gallery.
Sharing and archiving are two separate jobs. Sharing is about getting the right photos to the right people quickly. Archiving is about keeping the master set safe and accessible for years.
Sharing options:
Archive checklist:
| Format | Use case | Longevity | File size |
|---|---|---|---|
| RAW (CR3, NEF, ARW) | Editing master | Excellent (with software support) | Large |
| TIFF | Editing master (universal) | Excellent | Very large |
| JPEG (high quality) | Sharing, long-term accessible copy | Good | Small–medium |
| HEIC | iPhone originals | Good (improving support) | Small |
| PNG | Screenshots, graphics | Excellent | Medium–large |
For long-term preservation, keep at least one copy in a universally readable format (high-quality JPEG or TIFF) alongside your RAW files. RAW formats depend on manufacturer software support, which can lapse over decades.
A photo library only stays useful if you maintain it. The most common failure is letting events pile up unprocessed for months, then facing a backlog so large it never gets done.
Post-event timeline:
README template for your archive folder:
Event: [Event Name]
Date: [YYYY-MM-DD]
Location: [Venue, City]
Photographers: [Names or "Host + Guests"]
File naming convention: YYYY-MM-DD_EventCode_Source_####.ext
Folder structure: RAW / Edited / Selects / Exports
Backup locations: [Drive name], [Cloud service]
Last verified: [Date]
Notes: [Any relevant context]
Recurring maintenance checklist:
Most people who struggle with photo organisation are not disorganised. They are just trying to sort photos after the chaos has already set in. The event-first approach works because it imposes structure at the moment of import, not retrospectively.
The single rule I follow for every event: the folder name goes on before the first file is copied. 2025-06-14_Wedding_Smith exists on the drive before a single image lands in it. That one habit prevents the “unsorted dump” folder that becomes a permanent fixture on every hard drive.

The other thing most guides underestimate is the guest photo problem. Your own camera roll is easy to manage. Collecting 40 guests’ photos without losing half of them to WhatsApp compression or forgotten uploads is the genuinely hard part. A QR code that works in a browser, with no app required, solves that problem at the source rather than after the fact.
Keep the system simple enough that you will actually use it. A folder structure you maintain beats a perfect system you abandon after two events.
The hardest step in any event photo workflow is collecting contributions from guests. SnapPix removes that friction entirely. Guests scan a single QR code, upload photos and videos directly from their browser, and their contributions land in your gallery instantly. No app to download, no account to create.
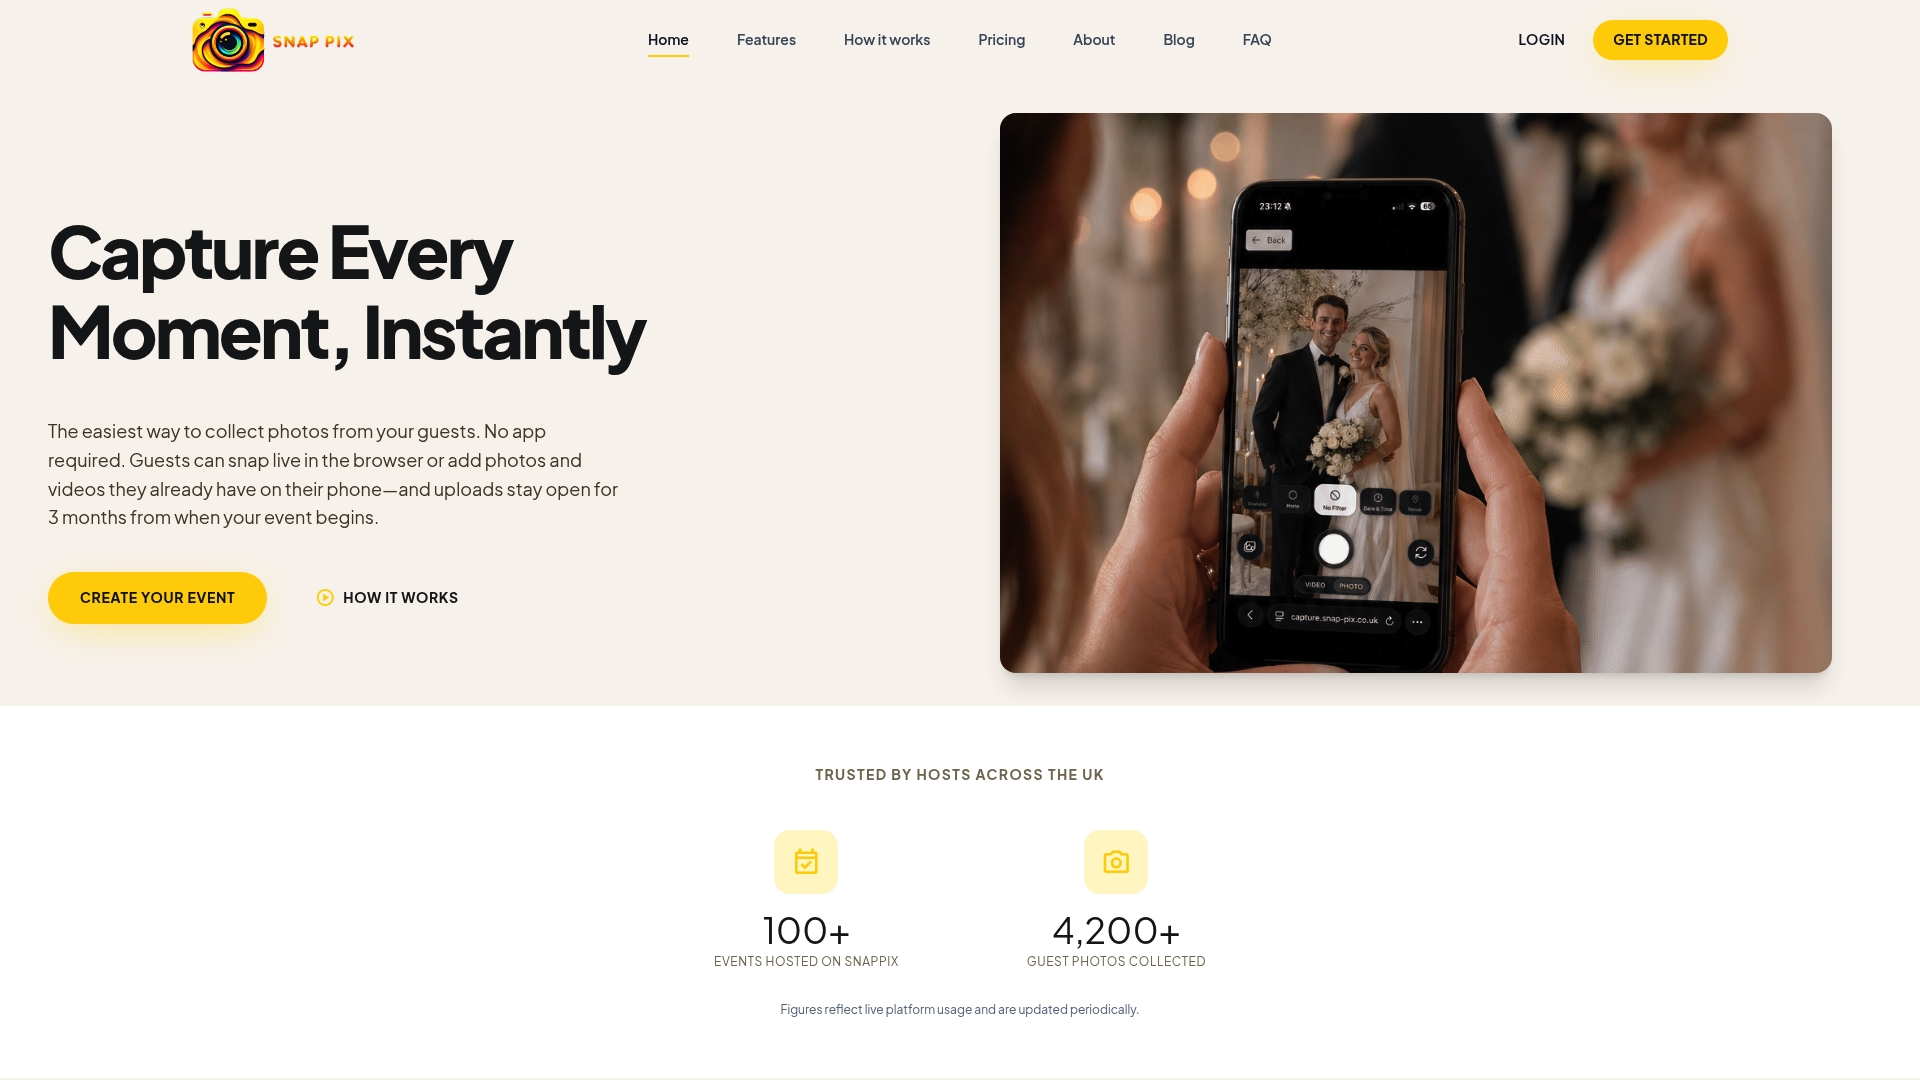
The upload window stays open for an extended period after the event, so guests who sort their camera roll days later are not left out. AI Smart Albums group incoming photos automatically, which means your guest uploads slot straight into the organise-and-cull step without a manual sorting pass first. For corporate events, the same AI album feature accelerates delivery of curated galleries to attendees. Password-protected galleries keep access controlled, and high-resolution downloads mean your guests get full-quality files, not compressed previews.
Set up your SnapPix gallery before your next event and have the QR code ready to display on the day.

Event hosts' practical guide to posed and candid photos: perception research, hands on shooting tips, and no app guest uploads to boost candid coverage.

Which event technologies are production ready for 2026 and how to adopt them with clear consent, governance, and a no app QR photo pilot.

Which routes keep EXIF or strip GPS? Quick checks to view or remove metadata, plus a three month workflow to collect guest photos.