Developers: Browser Camera Capture, Code First and No App QR Uploads
SnapPix TeamPublished 10 Sept 202626 min read
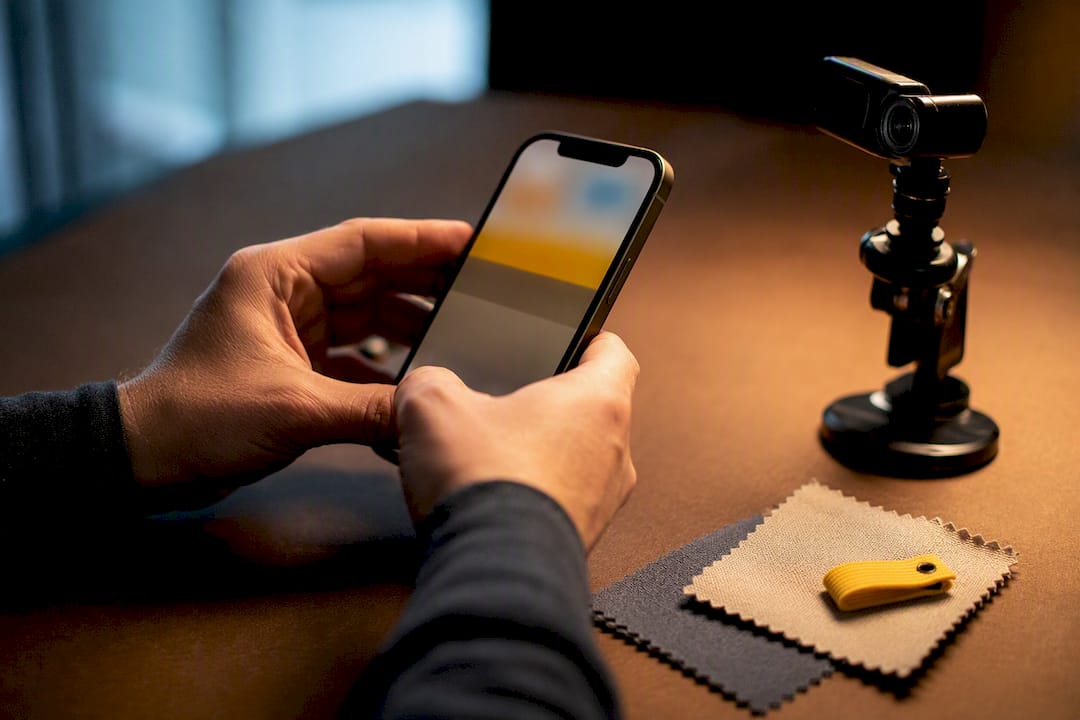
Use navigator.mediaDevices.getUserMedia() for live camera access; for stills, draw a frame to canvas with drawImage (or use ImageCapture where supported); for recording, use MediaRecorder. Request permission first, attach the stream to a <video> element, then capture. All of this requires HTTPS.
TL;DR:
- Camera access requires HTTPS and user permission prompts, with errors like NotAllowedError, NotFoundError, and OverconstrainedError common in production.
- Attaching the media stream to a video element and waiting for the canplay event ensures stable frame dimensions before capturing.
- Canvas remains the default method for still image capture due to broad browser support, with JPEG quality adjustments shrinking upload sizes without visible quality loss.
- ImageCapture API provides a direct photo method but has limited support; fallback to canvas drawing is recommended for consistency across browsers.
- Always stop media tracks after capture to release hardware and prevent battery drain, and feature-detect to use file input fallback on unsupported browsers.
Browser camera capture only works on secure origins. Chrome, Firefox, and Safari all block getUserMedia() on plain HTTP, with localhost as the sole exception during development. Deploy anything camera-related without TLS and the API call fails silently or throws before you get near a stream.
The permission model is deliberately visible to the user. A website cannot touch the camera without an explicit prompt, and the person on the other end can choose to allow it once, allow it permanently, or deny it outright through the site permissions panel. Revocation happens at any time, which means your code has to handle a stream disappearing mid-session, not just failing at request time.
Three errors show up constantly in production logs:
NotAllowedError: the user denied the prompt, or a previous denial is still cached by the browser.NotFoundError: no camera hardware matches the request, often on desktops without a webcam.OverconstrainedError: your constraints (an exact resolution, a specific deviceId) can’t be satisfied by any available device.Catch all three separately. A generic “camera unavailable” message frustrates users who could fix a denied permission themselves if you told them how.
The core pattern barely changes across projects:
getUserMedia() with constraints. navigator.mediaDevices.getUserMedia({ video: true }) returns a Promise resolving to a MediaStream. The WebRTC project’s getting-started guide treats this as the standard entry point for any camera feature.videoElement.srcObject = stream, add autoplay and playsinline attributes (the latter matters enormously on iOS Safari, which otherwise forces fullscreen playback), then call .play().canplay before touching dimensions. video.videoWidth and video.videoHeight are unreliable until the browser fires this event. Grabbing them earlier gives you zero, which breaks canvas sizing downstream..catch() on the Promise is not optional.try {
const stream = await navigator.mediaDevices.getUserMedia({ video: true });
video.srcObject = stream;
await video.play();
} catch (err) {
console.error(err.name, err.message);
}
Canvas capture is the method that works everywhere, which is exactly why it remains the default even with newer APIs available. Create a hidden <canvas>, match its dimensions to the video feed once canplay fires, then draw.
canvas.width = video.videoWidth;
canvas.height = video.videoHeight;
canvas.getContext('2d').drawImage(video, 0, 0, canvas.width, canvas.height);
From there you have two export paths. canvas.toBlob() gives you a binary object suited to direct upload with FormData, and it’s asynchronous, so it won’t block the main thread on large frames. canvas.toDataURL() is synchronous and returns a base64 string, handy for an instant <img> preview but noticeably heavier on memory for anything beyond thumbnail size.
A few things trip people up here:
transform: scaleX(-1) on the preview, not the canvas, or your saved photo comes out flipped for the wrong reason.canplay produces a black or zero-dimension frame — MDN’s still-photo walkthrough flags this timing issue specifically.Pro Tip: Call canvas.toBlob(callback, 'image/jpeg', 0.85) instead of the default PNG output. JPEG at 85% quality shrinks upload size dramatically with no visible loss for typical guest or profile photos.
ImageCapture offers a more direct route: skip the canvas entirely and ask the camera hardware for a photo. It operates on a MediaStreamTrack rather than the whole stream, and its takePhoto() method returns a Promise that resolves straight to a Blob, ready for upload with no drawing step at all.
The catch is support. Chromium browsers implement it reasonably well; Safari and Firefox lag behind, so treat it as an enhancement rather than a foundation.
if ('ImageCapture' in window) before relying on it.grabFrame() returns an ImageBitmap, useful if you want to inspect or filter a frame without a full photo capture.const track = stream.getVideoTracks()[0];
const capture = new ImageCapture(track);
const blob = await capture.takePhoto();
Recording follows a different rhythm to still capture, built around events rather than a single call:
MediaRecorder.isTypeSupported('video/webm;codecs=vp9') before instantiating anything, since supported mime types vary sharply between Chrome, Firefox, and Safari.dataavailable. new MediaRecorder(stream, { mimeType }), then push each chunk into an array as it fires. Chunks arrive on whatever interval you pass to start(timeslice).stop. Concatenate the collected chunks with new Blob(chunks, { type: mimeType }), then either trigger a download link or hand the Blob to your upload logic.For anything beyond a few seconds of footage, think about upload strategy early. Chunked or resumable uploads handle flaky mobile connections far better than a single large POST, particularly for guests uploading over patchy venue Wi-Fi.
Multi-camera devices need explicit device selection. Call navigator.mediaDevices.enumerateDevices() and filter results where kind === 'videoinput' to build a picker.
{ video: { deviceId: { exact: id } } } inside your constraints object.width: { min: 1280 } rather than exact, since exact constraints throw OverconstrainedError the moment a device can’t match them precisely.getUserMedia() call.deviceId if returning users expect the same camera next session; re-requesting with a stale ID that no longer exists should trigger a graceful re-enumeration rather than an error.Most camera bugs in production trace back to one habit: forgetting to release the stream.
track.stop() on every track in the stream, then set video.srcObject = null, once capture is finished. Leaving a track open keeps the camera indicator lit and drains battery for no reason.playsinline and orientation handling behave differently across iOS and Android, and the capture attribute’s effect on file inputs isn’t consistent between platforms either.Pro Tip: Add a visible “camera off” indicator in your UI the instant you call stop(). Users trust a page far more when they can see, not just assume, that access has ended.
Treat getUserMedia, MediaRecorder, and ImageCapture as three separate features with three separate support levels, and feature-detect each independently rather than assuming one implies the other.
For anything without full support, <input type="file" accept="image/*" capture> is the fallback that actually works. On many mobile browsers it launches the system camera app directly, bypassing the usual file picker entirely, though desktop browsers frequently ignore the capture attribute and just open a standard file dialogue.
navigator.mediaDevices and MediaRecorder before offering live capture; show the file input otherwise.A snapshot flow, stripped to essentials:
const stream = await navigator.mediaDevices.getUserMedia({ video: true });
video.srcObject = stream;
video.addEventListener('canplay', () => {
  canvas.width = video.videoWidth;
  canvas.height = video.videoHeight;
  canvas.getContext('2d').drawImage(video, 0, 0, canvas.width, canvas.height);
  canvas.toBlob(blob => uploadPhoto(blob), 'image/jpeg', 0.85);
  stream.getTracks().forEach(t => t.stop());
});
A recording flow follows the same shape but swaps the canvas step for MediaRecorder chunk collection, ending with new Blob(chunks) on the stop event.
The line that matters most in both snippets isn’t the capture logic. It’s
stream.getTracks().forEach(t => t.stop())— the step every abandoned tutorial forgets, and the one that actually releases the camera.
Everything covered so far captures a single moment or a local recording. Real-time streaming between people is a different problem, and it’s where the wider WebRTC standard comes in rather than just the media capture pieces of it.
Once you have a MediaStream from getUserMedia(), WebRTC’s RTCPeerConnection lets you send that stream directly to another browser with peer-to-peer transport, no round trip through a central server for the video data itself. This is the foundation behind browser-based video calling, live remote assistance tools, and collaborative streaming features.
The practical pattern involves three pieces working together: RTCPeerConnection for the connection itself, a signalling channel (commonly WebSockets) to exchange session descriptions and ICE candidates before the peers can find each other, and STUN/TURN servers to handle network address translation when both parties sit behind different routers. None of this is optional infrastructure. Two browsers on separate home networks almost never connect without at least a STUN server in the mix, and TURN becomes necessary when firewalls block direct peer traffic entirely.
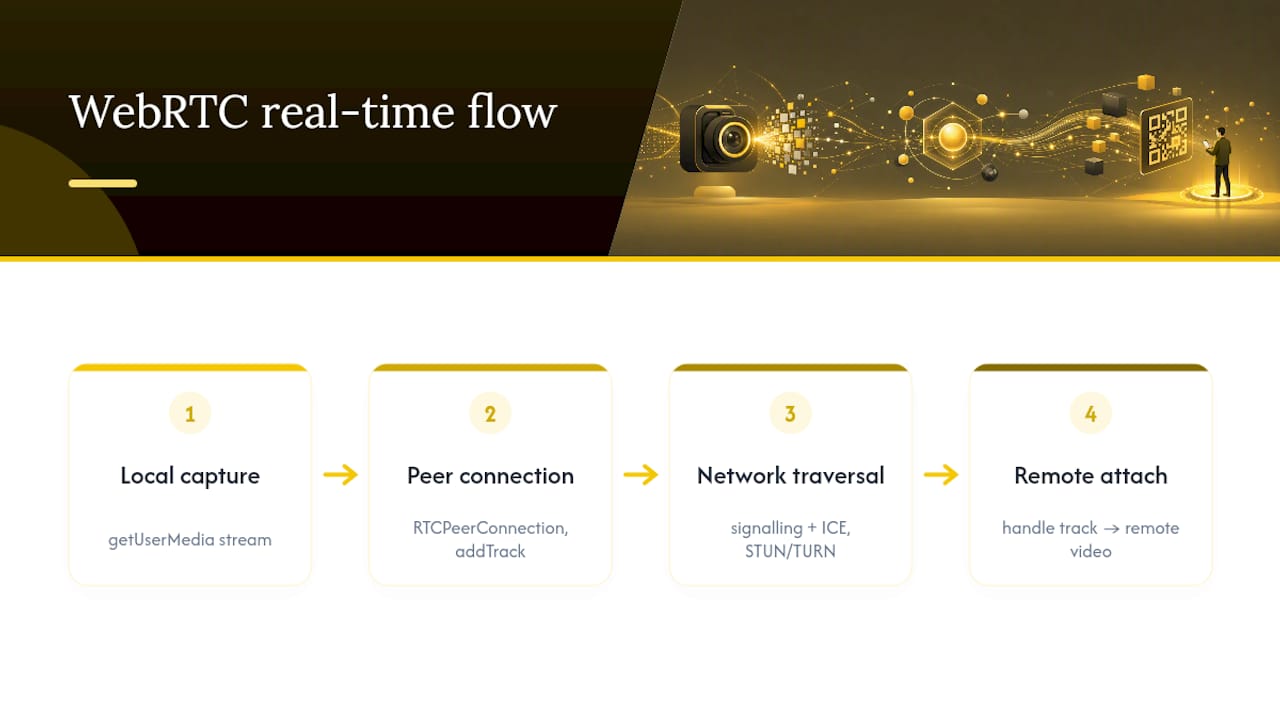
Add the local stream to the connection with peerConnection.addTrack(track, stream) for each track, then handle the track event on the receiving end to attach the incoming stream to a remote <video> element. The WebRTC media devices guide treats this handoff from getUserMedia() to RTCPeerConnection as the standard bridge between local capture and remote transmission, and it’s worth reading before building anything more ambitious than a two-person call.
Camera access in the browser stretches well past taking a photo or joining a call, and a fair number of production features quietly depend on the exact same getUserMedia() foundation.
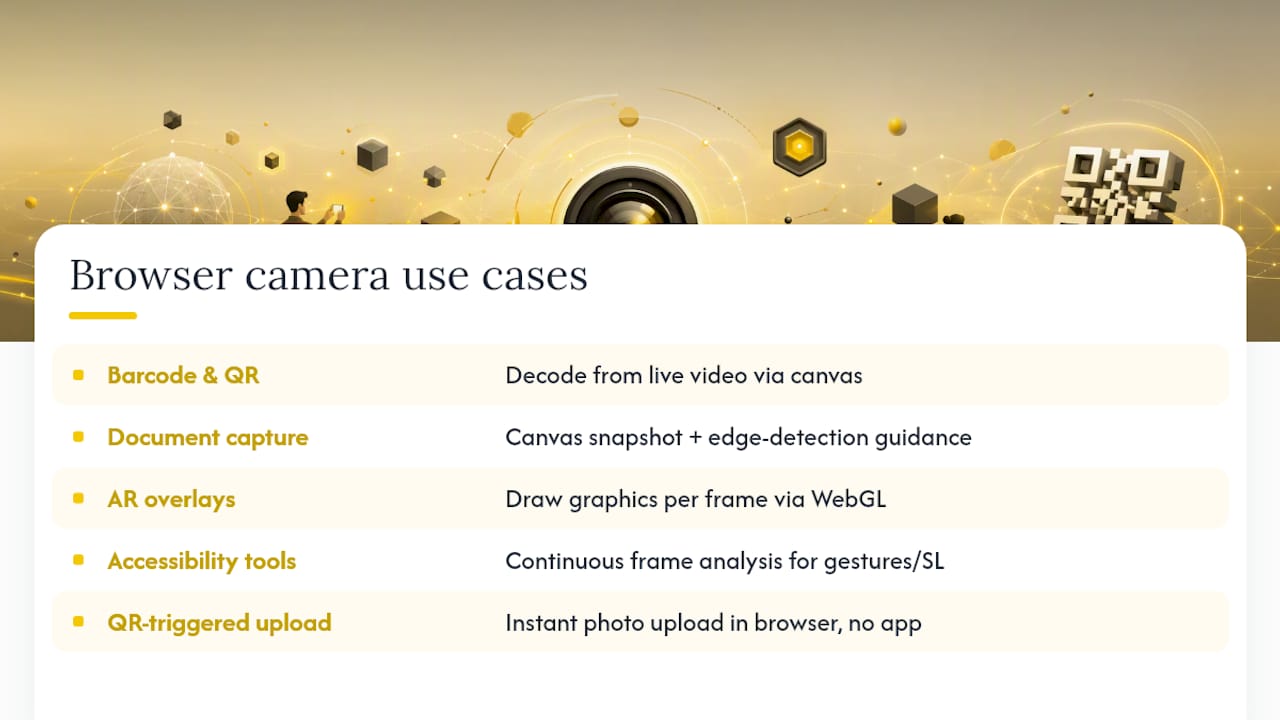
Barcode and QR scanning is the most common extension. Instead of a native scanning SDK, a live video feed piped into a canvas frame by frame lets a decoding library (ZXing and jsQR are common choices) read barcodes directly from browser video, no app install required. This is precisely the mechanism behind browser-based check-in kiosks and retail scanning tools.
Document and ID capture for verification flows uses the same canvas snapshot pattern covered earlier, often layered with edge-detection logic to guide users into framing a document correctly before the frame gets captured.
Augmented reality overlays draw graphics on top of a live video feed using canvas or WebGL, reading each frame as it arrives from the stream rather than capturing a single still.
Accessibility tools including sign-language interpretation aids and gesture-based navigation both rely on continuous frame analysis rather than a one-off snapshot, processing the video stream in near real time through the same MediaStream object.
Live QR-triggered upload pages for events sit at the simpler end of this spectrum: a guest scans a code, lands on a browser page, and the camera opens for an instant photo upload with no separate app and no scanning library required at all.
Every pattern above scales down neatly into a guest-facing use case: a QR code links to a browser page, the page requests camera access, and the guest snaps or uploads a photo with no app store detour. SnapPix runs exactly this flow, with a three-month upload window so latecomers aren’t locked out. The main engineering considerations for hosts running their own version are file-size handling on mobile uploads and clear on-screen guidance, since guests won’t read a manual. Our guide on how QR photo collection works walks through the setup side, and the video collection guide covers the added complexity of larger uploads.
— Liam
Building the flow above, permissions, canvas capture, upload handling, mobile fallbacks, takes real development time even with every snippet in this guide. SnapPix removes that build entirely: activate an event, share one QR code, and guests upload straight from their browser with no app to download and no camera code for you to maintain.
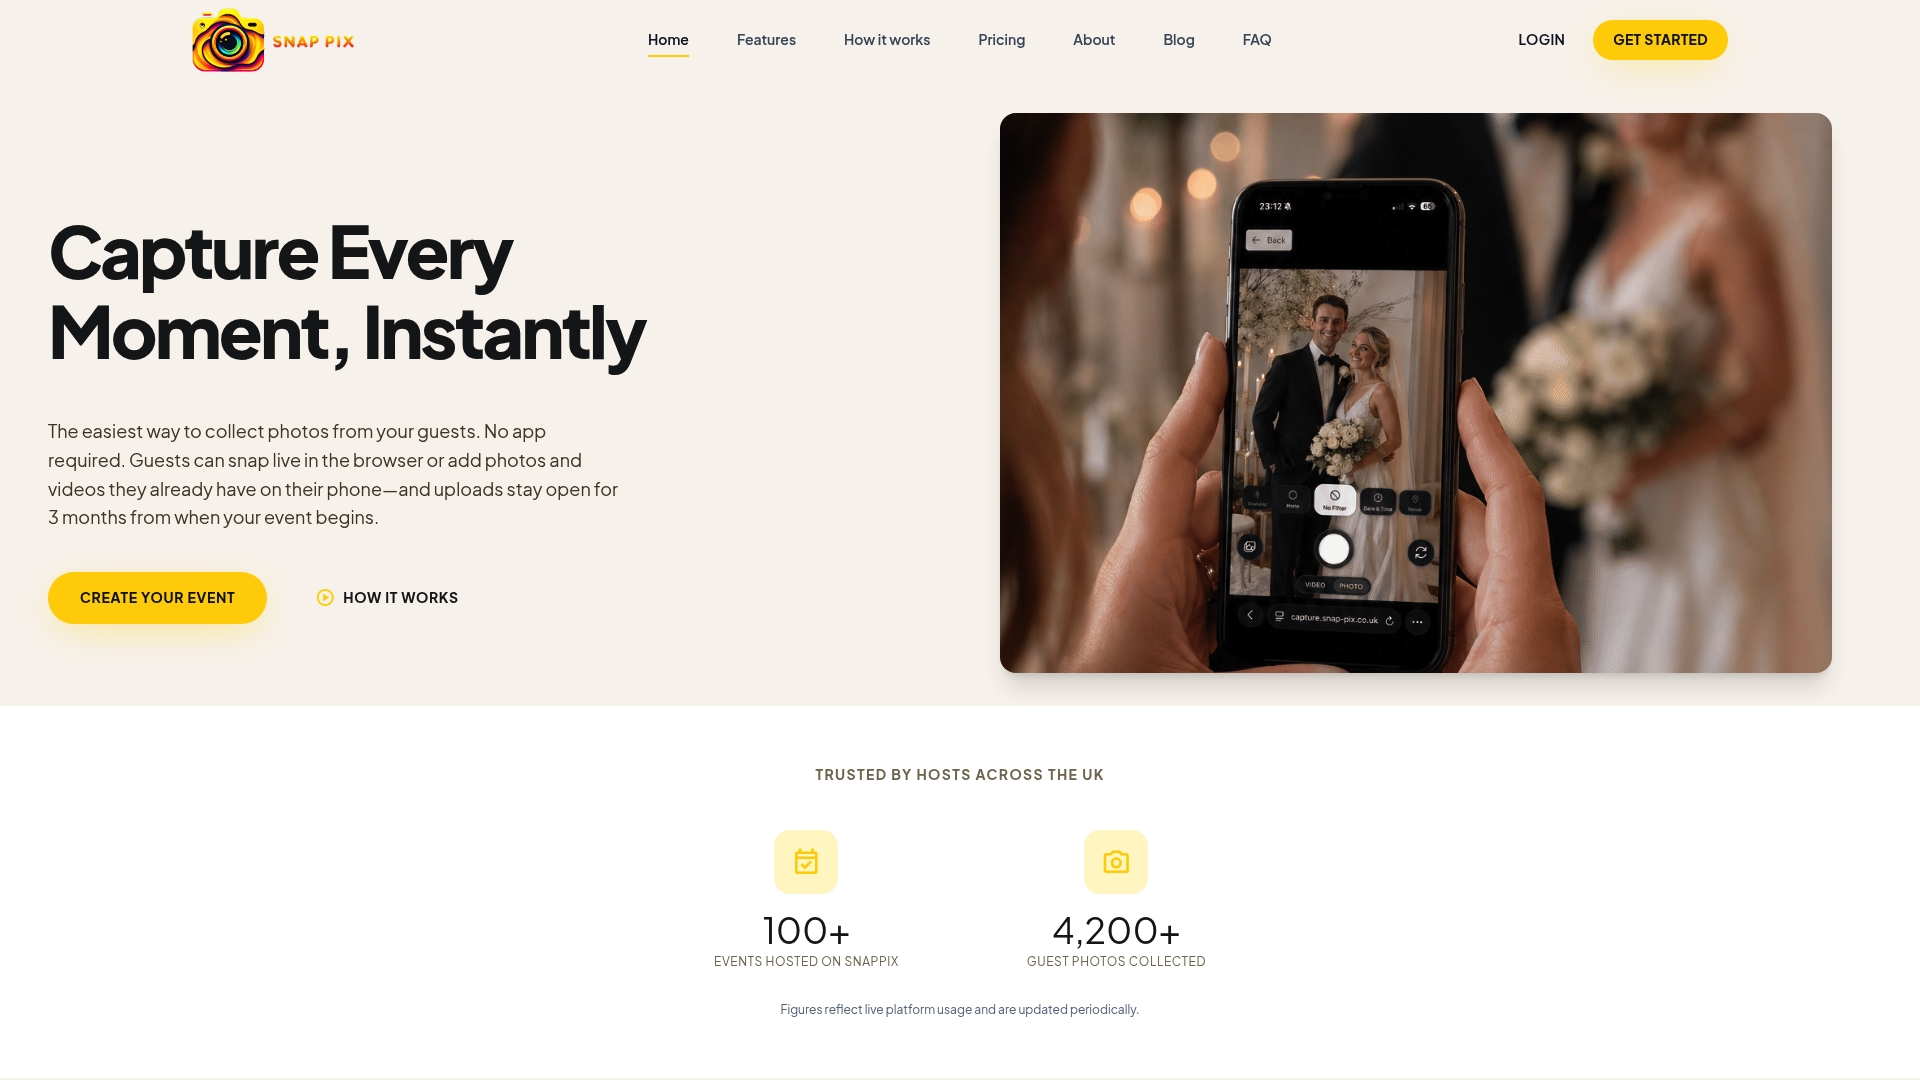
The workflow for a host is simple; consider using professional capture hardware like the Blackmagic Web Presenter to preview and manage camera inputs efficiently. Activate the event, generate the QR code, and share it at the door or on invitations. Guests scan, land on a browser upload page, and their photos and videos land in a gallery organised automatically by AI-driven albums, live for a limited time after the event. Photo challenges can help keep guest participation high without any extra prompting from you.
If you’d rather point guests at a QR code than maintain getUserMedia() error handling across five browsers, take a look at the SnapPix features page and set up your first event gallery.

Comparing wedding guest photo apps and the alternatives: what to look for, what to avoid, and how a no-app QR gallery works for UK couples.

How to gather, display and share memorial service photos in the UK: family permission, photo boards, slideshows, and a private QR gallery for guests' memories.

Stop chasing guests for photos. Learn how to centralize event photos in one QR gallery, with a simple workflow, privacy basics and copyright tips for hosts.