The best online RSVP form builder for UK events
SnapPix TeamPublished 10 Aug 202625 min read
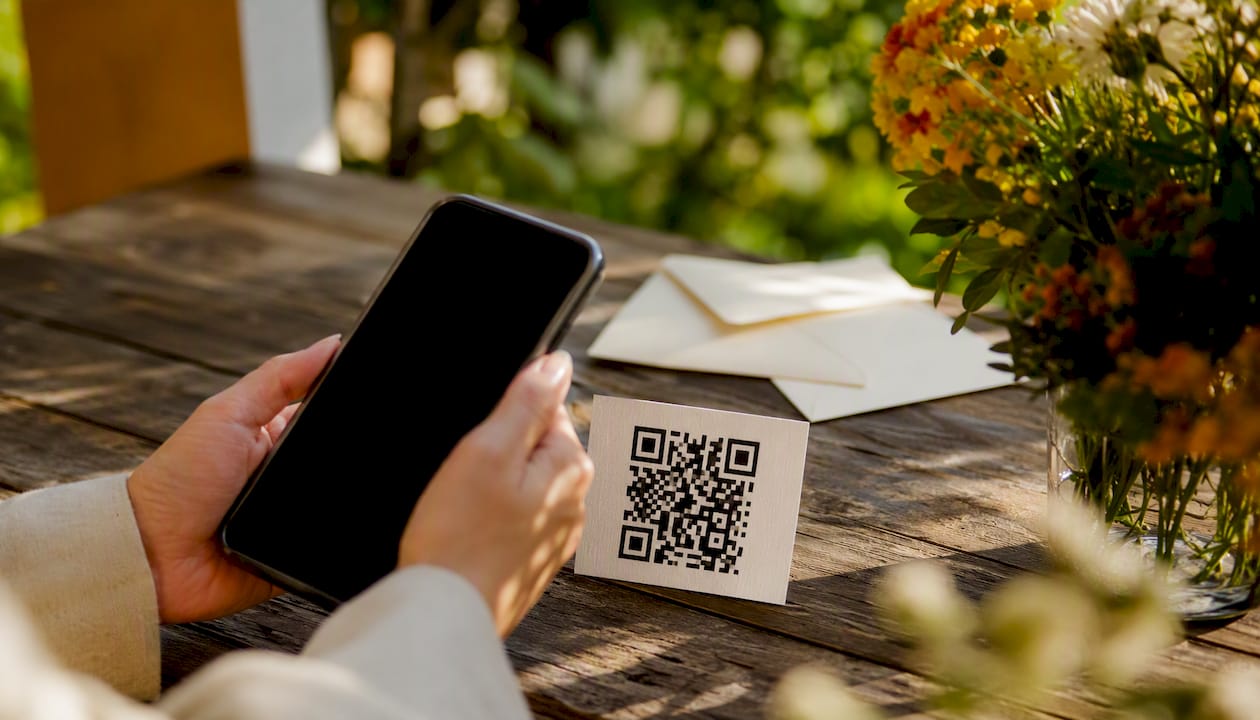
Pick a template-driven online RSVP form builder with conditional logic, real-time headcount, and easy sharing, and you can have a live RSVP link ready quickly. For most UK events, that means three steps: choose a ready-made template for your event type, add conditional fields for dietary needs and plus-ones, then publish as a shareable link or QR code and switch on confirmation emails. SnapPix’s RSVP form builder does exactly this, and it sits inside a wider event workflow that also collects guest photos without requiring any app. Two things worth confirming before you start: your tool stores data on UK or EU servers (a practical GDPR consideration), and it connects to Google Sheets or Zapier so responses feed straight into your planning documents.
A template-driven RSVP form builder with conditional logic and real-time headcount is the fastest, most reliable way to manage guest responses for any UK event.
| Point | Details |
|---|---|
| Start with a template | Choose a template matched to your event type to cut setup time to under 30 minutes. |
| Add conditional logic | Show dietary and plus-one questions only to guests who confirm attendance. |
| Publish as link and QR code | Share via email and print the QR code on invitations or venue signage for maximum reach. |
| Enable confirmations and follow GDPR basics | Switch on autoresponder emails and include a short consent line covering data use and retention. |
| SnapPix combines RSVPs and photos | SnapPix’s flat-fee per-event plan covers RSVP forms, live headcount, and no-app guest photo collection in one workflow. |
The features below separate a builder that saves you time from one that creates more admin.
Must-have features:
Conversational-form layouts with conditional logic help respondents finish in under a minute and raise follow-through rates. Keeping questions minimal matters too: ask only what you genuinely need, such as dietary requirements or accessibility needs, rather than collecting data you will never use.
For UK organisers specifically, look for a builder that offers UK-based or EU-based data storage, clear consent wording, and support available during British working hours. Custom branding, white-labelled URLs, and embed options tend to sit behind paid tiers, so check those limits before committing.
A straightforward process gets you from blank page to live link without stress.
Choose your template. Select a template matched to your event type: wedding, birthday party, or corporate session. Most builders offer a gallery of starting points. Pick the closest match and you will spend far less time on layout.
Add your core fields. Every RSVP form needs: full name, attendance response (yes/no/maybe), number of guests attending, dietary requirements, and any accessibility needs. Keep the list short. Templates that map each question to a planning need — for example, meal choices feeding directly into catering numbers — make your data immediately useful.
Set up conditional logic. Show dietary and plus-one questions only to guests who confirm attendance. A guest who declines does not need to answer those questions, and removing them keeps the form feeling quick and considerate.
Brand and test on mobile. Upload your logo, set your colours, and then open the form on your own phone. Check that buttons are easy to tap, text is readable, and the form does not require pinching or zooming.
Publish and share. Generate a shareable link or QR code from the builder’s publish tab. Place the link in your email invitations and on your event page; print the QR code on physical invites or venue signage. For guidance on placing RSVP links on an event web page, event venue web design best practice is a useful reference.
Enable confirmations and reminders. Switch on the autoresponder so every guest receives a confirmation email immediately after submitting. Set a reminder to go out a few days before your RSVP deadline to catch late responders.
Timeline: a basic form with a template takes 10–15 minutes. Adding custom branding, conditional logic branches, and testing all paths typically takes 1–2 hours.
Pro Tip: Keep your form to five questions or fewer. Short, conversational forms consistently see higher completion rates than long, formal ones. If you need extra detail from attendees, ask it in a follow-up email after they have confirmed.
A real-time dashboard is the feature that earns its keep on the day of your event. When guests are arriving and you need a live headcount, a dashboard that updates instantly means you are not refreshing a spreadsheet manually or chasing a colleague for the latest count.
Common integrations that save real planning time:
Automations and integrations turn RSVPs into planning actions, cutting out the manual tallying and copy-pasting that eats into preparation time. A practical workflow: new RSVP submitted → row added to Google Sheet → organiser notified in Slack → catering spreadsheet updated. Unique invite links also let you track who has opened and responded, so you can follow up with non-responders before the deadline.
When exporting attendee lists, name your files clearly (for example: EventName_RSVPs_v2_2026-06-01.csv) and keep a dated backup before making changes. That habit prevents confusion when multiple people are working from the same list.
Most builders offer a template gallery covering the main event categories. Here is how to choose and adapt quickly.
Choosing your starting template:
Customisation checklist before you publish:
Testing checklist:
Photo challenges and AI smart albums are worth considering alongside your RSVP setup if you want guests engaged before and during the event, not just at the response stage.
Three pricing shapes cover most of the market: a free tier with response limits, a per-event flat fee, and a monthly or annual subscription. For a one-off event, a per-event flat fee is usually the most cost-effective option. Subscriptions make sense only if you run events regularly throughout the year.
Features that commonly sit behind a paywall:
Before you commit to any plan, check these specifics:
| What to check | Why it matters |
|---|---|
| Free response limit | Free tiers often cap at a limited number of responses; larger events need a paid plan |
| Data retention period | Some tools delete responses after 30–90 days; confirm this covers your event timeline |
| Integration access | Google Sheets and Zapier connections may require a paid tier |
| One-time vs recurring fee | A per-event fee suits occasional organisers; subscriptions suit frequent ones |
| Branding removal | Free plans often show the builder’s logo on your form |
A free embeddable RSVP page with a short event link and QR code reduces friction for guests, and some services offer limited free responses with a one-time upgrade for larger events. SnapPix uses a flat per-event fee with no subscription required, which keeps costs predictable for organisers planning a single occasion. See the SnapPix pricing page for current rates.
You can collect RSVPs legally in the UK provided you follow the principles set out in UK GDPR and the Data Protection Act 2018. The key requirements are straightforward for most event organisers.
Compliance checklist:
Sample consent text you can paste into your form:
For most private events, this level of wording is sufficient. If you are collecting sensitive data (for example, detailed medical or accessibility information), or if you are a business collecting data from customers, speak to a data protection adviser before publishing your form.
Pro Tip: Store your exported attendee list in a password-protected spreadsheet and share it only with people who genuinely need it. Delete the file within your stated retention period. These two habits cover the practical side of UK data protection for the vast majority of events.
SnapPix is the recommended option for organisers who want RSVPs and guest photo collection in a single workflow, without asking guests to download anything.
What SnapPix includes:
SnapPix has collected thousands of guest photos across weddings and events, demonstrating that the no-app approach works in practice.
A typical wedding workflow looks like this: send invitations with the RSVP link and QR code → guests confirm attendance and dietary needs in under a minute → the organiser monitors live headcount on the dashboard → on the day, the same QR code lets guests upload photos from their phones → after the event, the host downloads high-resolution images from a password-protected gallery. The SnapPix features page covers the full list of tools available.
The detail that catches most organisers out is the plus-one conditional branch. It looks simple, but if the logic is not tested properly, guests who bring a partner see a blank field or, worse, an error. Send one test RSVP to yourself confirming attendance with a plus-one, and a second test declining. Both paths should feel smooth and the confirmation email should arrive within a minute.
Combining your RSVP and guest-photo workflows in one place saves real time and keeps guests engaged with a single link from the moment they receive their invitation.
SnapPix gives you a flat-fee event package that covers your RSVP form, live headcount dashboard, QR-based guest photo collection, AI smart albums, and a three-month upload window, all without asking guests to install anything.
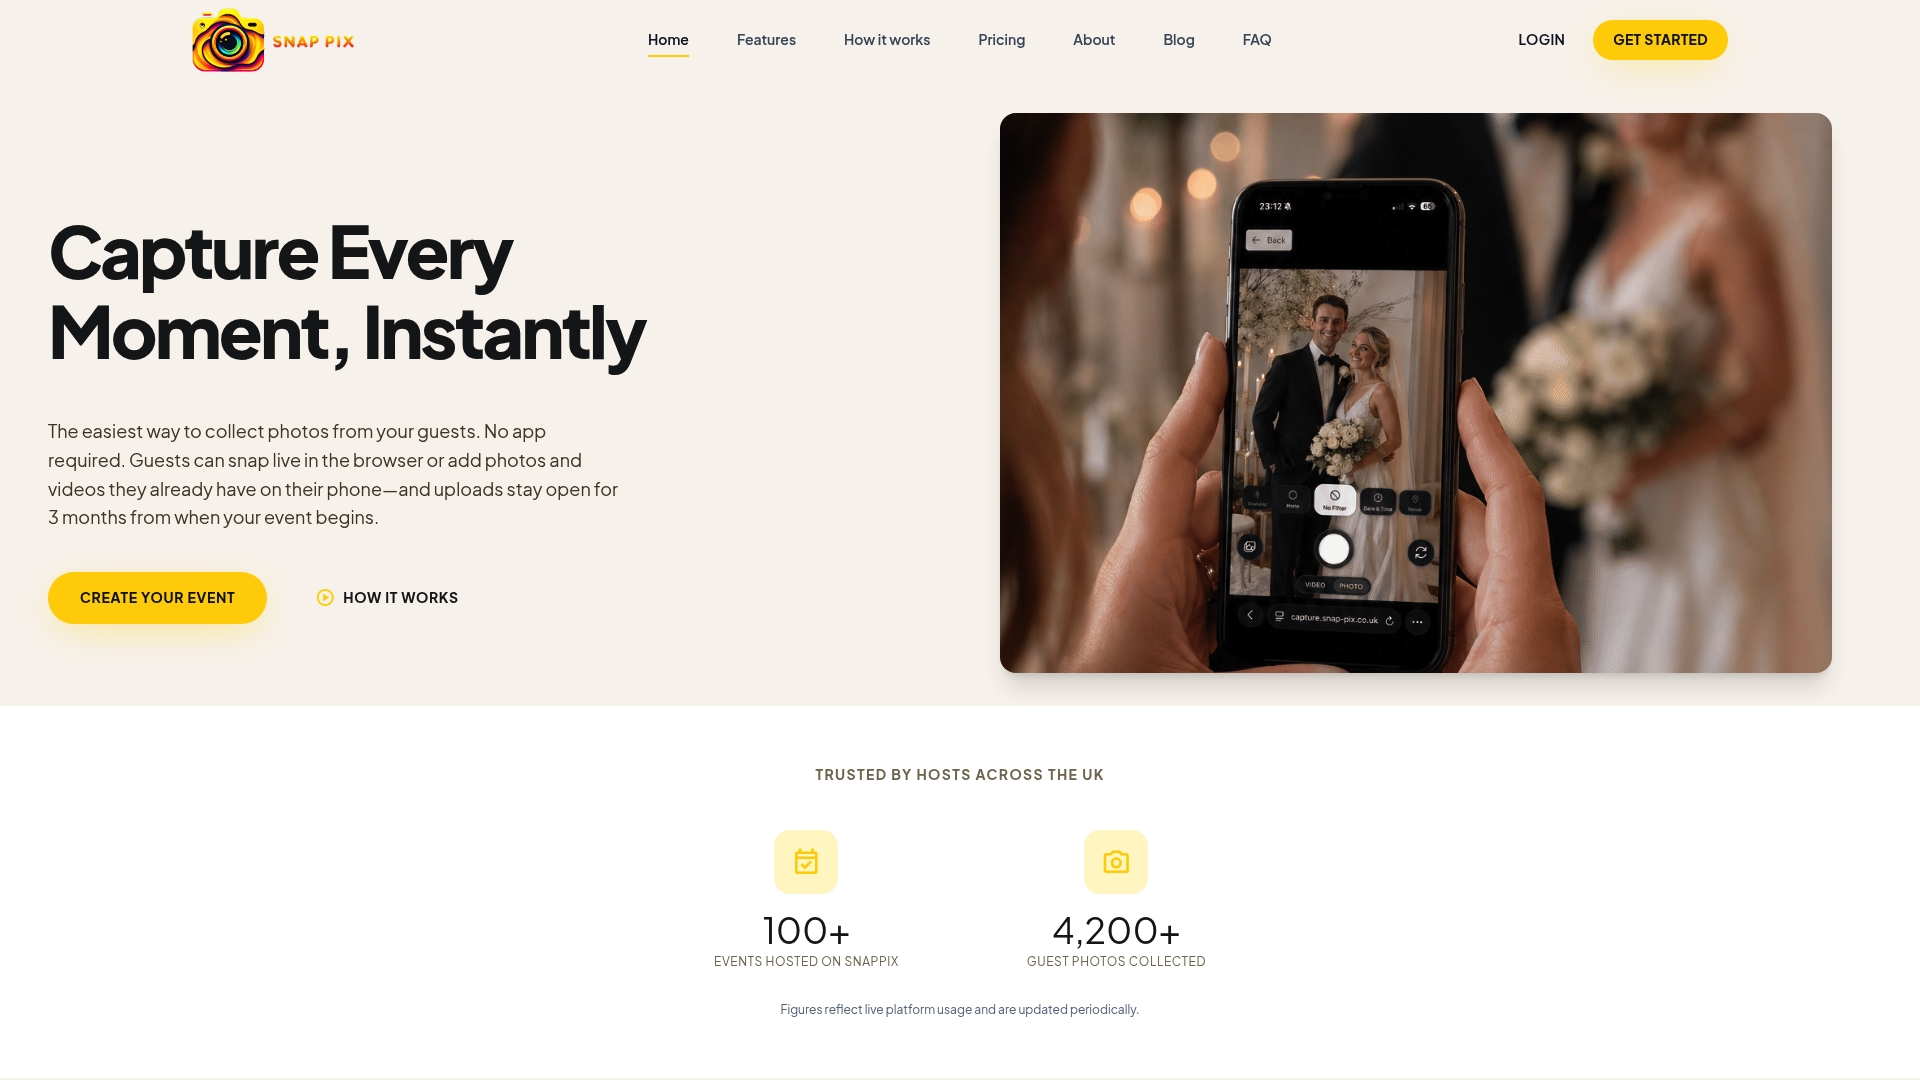
Set up your event on SnapPix, share one QR code or link with your guests, and collect both their attendance confirmations and their photos from a single place. Visit SnapPix to see how it works and create your event today.

Secure sponsor access to event photos with a host controlled workflow. Use time limited QR links, view only tokens, instant revocation, and access logs.

A practical host first workflow: collect no app QR uploads, keep moderation and professional curation, set retention and backup plans so you stay in control.

Event hosts' practical guide to posed and candid photos: perception research, hands on shooting tips, and no app guest uploads to boost candid coverage.