A live wedding photo slideshow, done right, wins the room
SnapPix TeamPublished 24 Aug 202628 min read
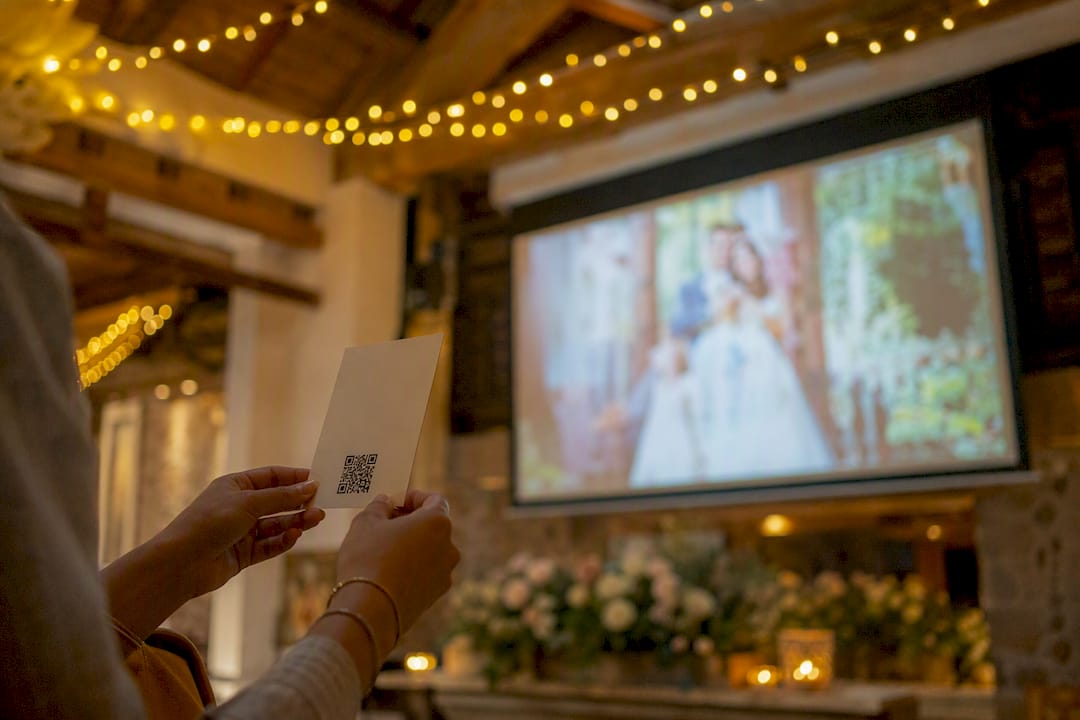
A live wedding photo slideshow turns guest uploads into an instant, shared highlight reel. Guests scan a QR code, upload straight from their phone’s browser, and their photo lands on the big screen within seconds, no app, no fuss. The one-line verdict: when it’s set up properly, this is one of the highest-engagement features you can add to a reception, and a no-app QR upload service makes setup a matter of minutes rather than a technical project.
A live wedding photo slideshow works best when it pairs a no-app QR upload flow with clear moderation choices, a defined narrative arc, and active prompts that keep guests uploading all night.
| Point | Details |
|---|---|
| Use QR, browser-only uploads | Skip app downloads entirely; guests upload in seconds via their phone browser. |
| Keep length to 4 to 8 minutes | Aim for 40 to 80 photos for a dedicated screening slot, fewer for background loops. |
| Time it around the reception’s rhythm | Run it as background during cocktail hour and dinner, then a dedicated slot before speeches. |
| Prompt guests actively | Signage plus a direct MC announcement outperforms a silent QR code on a table. |
| SnapPix handles the technical load | Its no-app QR gallery, AI smart albums, and 4,200+ collected photos show the model works at real weddings. |
The mechanics are simpler than most couples expect. A guest scans a printed QR code, their phone browser opens an upload page (no app store required), they pick or take a photo, add an optional caption, and it queues for the screen.
Moderation is where the real decision lies. You can auto-approve everything, review each upload manually before it airs, or run a short live queue that an admin clears every few minutes. QR-based, browser-first uploads tend to outperform hashtag campaigns because there’s no reliance on guests remembering a spelling, having the right social platform installed, or setting their account to public.
Pro Tip: Set moderation to manual approve for the first twenty minutes of the reception. Guests are still arriving, and one dud photo early on can put people off uploading again.
Start with the service, then work outward to the hardware. Choose a gallery platform with QR/browser upload and built-in moderation, then build the event page and generate the QR code well before the big day, ideally two to three weeks out so you have time to test.
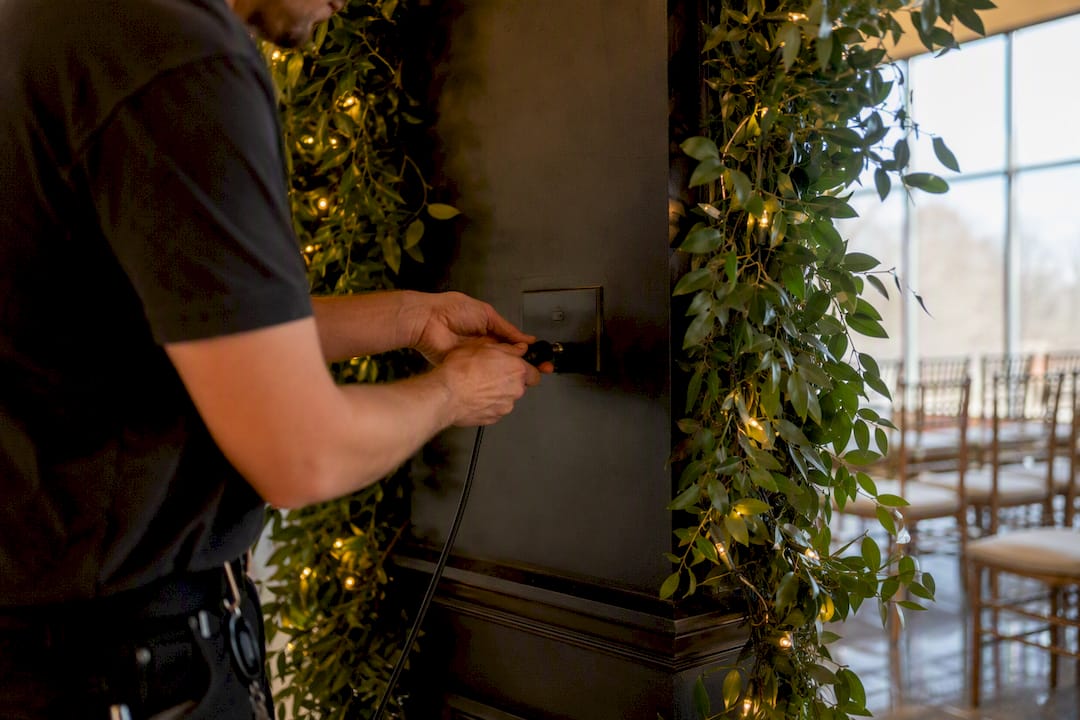
Venue checks matter just as much as kit. Confirm power outlets near the screen, test the venue’s Wi-Fi or fall back to a mobile hotspot, and check sightlines so tables aren’t staring at the back of a pillar. Ask the venue directly whether displaying guest-submitted content is fine under their policies. Then book a short rehearsal, ideally the same week, on the actual screen you’ll use.
| Setup item | What to confirm |
|---|---|
| Gallery service | QR/browser upload live, moderation mode chosen |
| Display | Screen or projector positioned with clear sightlines |
| Connectivity | Venue Wi-Fi tested, hotspot as backup |
| Power | Outlet near the screen, extension lead packed |
Timing shapes how much attention the slideshow gets. Cocktail hour works well as a background loop, guests are mingling, phones are out, and it gives early arrivals something to smile at. During dinner, run it as ambient wallpaper rather than the main event, then bring it forward as a dedicated screening moment during a lull, such as between courses or before speeches.
Placement is just as important as timing. Position the screen where most tables have a clear view, and consider a second smaller display near the bar or entrance if the room is large or oddly shaped. Talk to your DJ or MC in advance so the slideshow never overlaps with a toast or the first dance; nothing kills a speech faster than the screen behind the speaker cycling through unrelated selfies.
The strongest live slideshows follow a loose narrative arc: a handful of “before” photos (childhood, early dating), then engagement and pre-wedding shots, then the day itself, and finally, live guest uploads woven in as the night unfolds. That arc gives structure to what would otherwise be a random photo dump.
On length, most effective slideshows run between four and eight minutes and use around 40 to 80 photos, depending on whether it’s a background loop or a dedicated screening. Longer background loops can recycle the same pool of photos more slowly across the evening.
Statistic Callout: Slideshows in the 4 to 8 minute range with 40 to 80 photos consistently hold guest attention without dragging on, according to wedding slideshow research. Shorter cuts of 3 to 5 minutes also work well for sharing online afterwards, so consider producing both a reception version and a shareable highlight edit.
Add simple captions or overlays where context helps, a name, a table number, a one-word mood, but don’t over-caption. The photos should carry the story.
Getting guests to open their phone and upload takes more than a QR code sitting quietly on a table. It needs signage, a prompt, and someone saying it out loud.
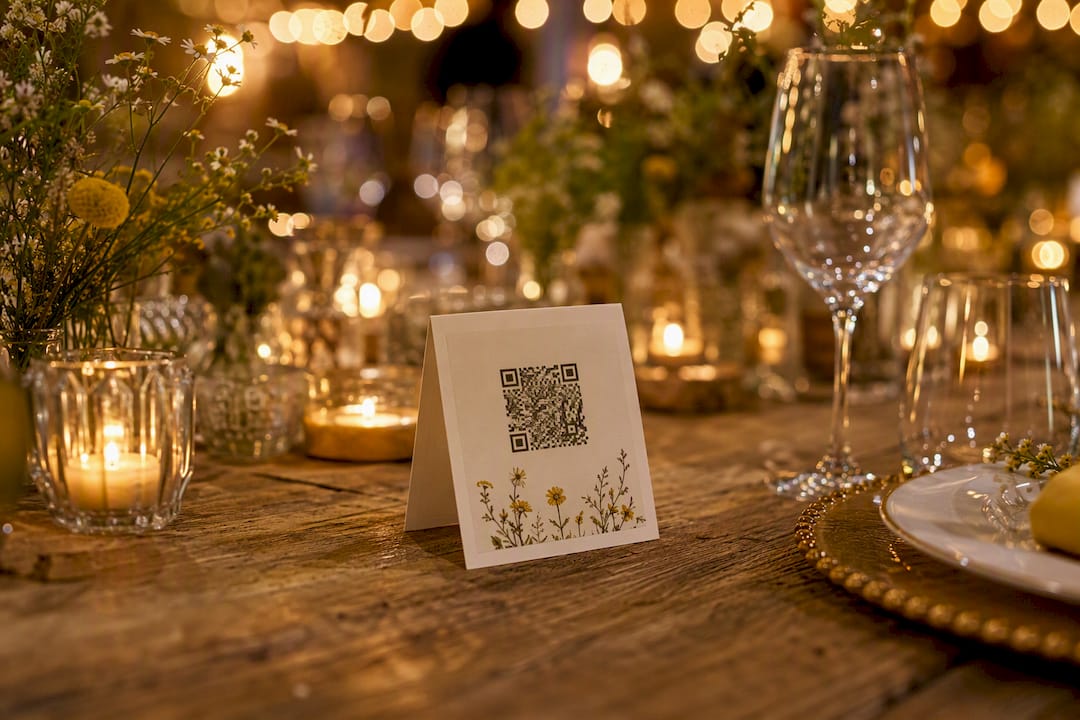
Guided prompts and themes build a far better narrative than leaving guests to upload at random, and a QR code placed at eye level on every table typically outperforms one lonely sign by the entrance.
Pro Tip: Print the QR code on the back of the table plan or seating card. Guests already have it in hand, and it saves you a separate sign per table.
Most no-app gallery platforms charge a flat, one-time fee per event for hosting and upload tools, rather than a monthly subscription. On top of that, you’re either hiring AV equipment or borrowing a screen and speakers the venue already has, which can bring the total cost close to zero beyond the gallery fee itself.
On value, event industry write-ups report increases in guest engagement when live displays or same-day edits are used, though figures vary by survey. The clearest ROI signal isn’t a number, it’s the candid photos you’d never have captured any other way: the ones taken by guests, from angles your photographer never had, at moments your photographer missed entirely. Set against a same-day edit service, a live guest-upload gallery typically costs far less and needs no editing team on-site.
Liam and Megan set up a SnapPix QR gallery two weeks before their reception, printed the code on their table cards, and left moderation on manual approve for the first hour before switching to auto-approve once the early uploads set the tone.
By the time the first dance ended, guests had already uploaded dozens of candid shots the couple’s photographer hadn’t caught, table toasts, kids sneaking extra cake, a grandmother mid-laugh. The screen near the bar became an unplanned gathering point for the rest of the night.
What other couples can copy from this:
SnapPix’s own totals back this up: the platform has collected over 4,200 guest photos across the weddings and events it has supported, with AI smart albums sorting the flood automatically.
If Wi-Fi drops, switch to the hotspot immediately rather than troubleshooting the venue’s router. If photos appear sideways, check upload orientation settings before the event, not during it.
The advice that dominates most wedding blogs treats the slideshow as a set-and-forget background feature, plug it in, let it loop, done. That’s the weakest version of the idea. The couples who get real value from a live slideshow are the ones who treat moderation as an active job for the first hour, not a permanent setting, and who give guests a specific prompt rather than a blank invitation to “share your photos.”
What’s overrated: hashtag campaigns. They rely on guests having the right platform, remembering the spelling, and setting posts to public. QR-based browser uploads remove every one of those failure points, which is why they’ve become the default for a reason that has nothing to do with trend-chasing.
What’s underrated: the rehearsal. Couples spend weeks choosing photos and picking music, then discover on the day that the venue’s HDMI port doesn’t match their laptop. A ten-minute test on the actual screen, a week out, prevents more wedding-day stress than any amount of photo curation.
Prioritise the plumbing first, the QR code, the moderation setting, the tested cable, then let the content take care of itself. Guests will supply the moments. Your job is making sure the screen actually shows them.
SnapPix is the option that skips the app-download step entirely, guests scan, upload from their camera roll or browser, and their photos land in a curated gallery within minutes, no account creation, no downloads competing for phone storage on the day.
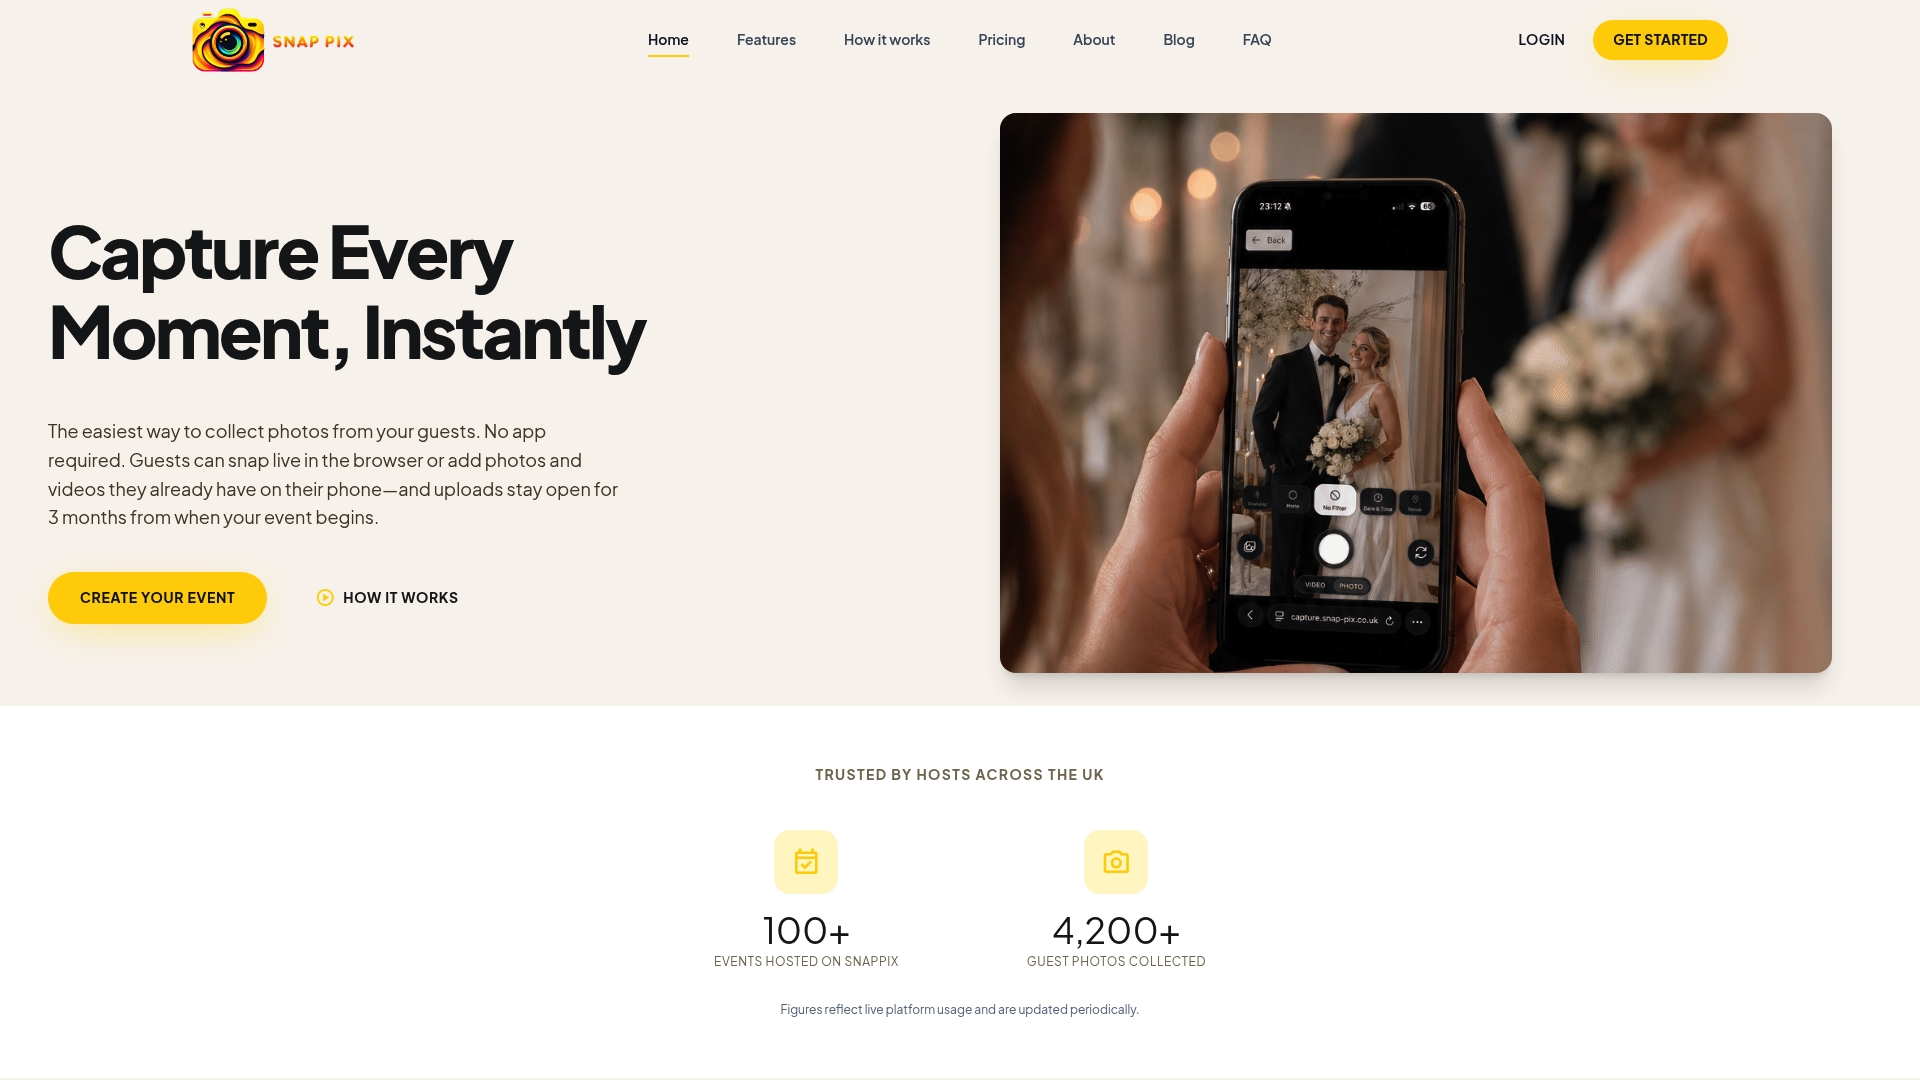
Beyond the live upload flow, SnapPix’s features page covers the AI-driven smart albums that sort thousands of guest photos automatically, photo challenges that keep the uploads coming past the first dance, and a digital guest book for messages alongside the images. Every gallery stays accessible for three months after the event, giving latecomers and forgetful guests plenty of time to add their shots, and the deletion policy sets out exactly how long content is retained and how guests’ privacy is protected. If you’re planning a reception around a live, guest-driven slideshow, set up your event gallery on SnapPix now and generate your QR code in time for a proper rehearsal.
Do guests need to download an app to upload photos? No. A live wedding photo slideshow built on QR/browser upload technology lets guests upload directly from their phone’s browser, no app store, no account required.
How many photos do I need for the slideshow? Aim for 40 to 80 photos for a dedicated 4 to 8 minute screening, or a smaller rotating pool if you’re running it as a background loop across the whole reception.
What happens if a guest uploads an inappropriate photo? Set moderation to manual approve, or use a short live queue an admin clears every few minutes, so nothing reaches the screen without a quick check first.
Can I keep collecting photos after the wedding is over? Yes, platforms like SnapPix keep the gallery open for three months after the event, so guests who forget on the night can still add their photos later.
Is a live slideshow worth the cost compared with a same-day edit? For most couples, yes. A no-app gallery typically costs a single flat fee and needs no on-site editing team, while still capturing candid guest moments a photographer would likely miss.
For deeper guidance on slideshow length and narrative pacing, see Tribute’s slideshow guide and The Knot’s dos and don’ts. For quick editing tools, Canva, Apple Photos, and Google Photos each handle music timing and exports well. For QR signage specifics, see SnapPix’s QR code guide.

Set up event photo uploads before guests arrive with a no app QR gallery, guest prompts, and host moderation. Uploads resume when venue signal returns.

Set up a no app, no account shared gallery hosts can test quickly. Practical host checklist, COPPA privacy notes, upload prompts, and backup steps to...

Secure sponsor access to event photos with a host controlled workflow. Use time limited QR links, view only tokens, instant revocation, and access logs.