Ready to Print QR Sizes for Event Signs: Copy Ready Table, 2×2 cm Min
SnapPix TeamPublished 5 Sept 202621 min read
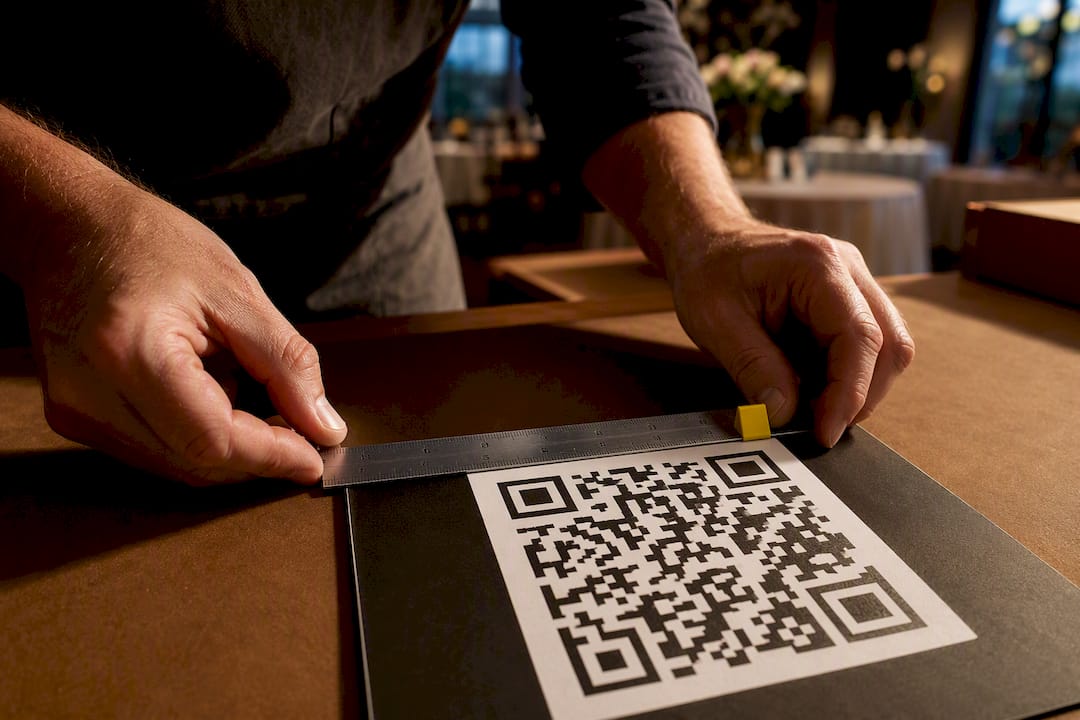
For printed signs, work to a minimum of about 2×2 cm (0.8×0.8 in) for anything scanned up close, then use the 10:1 rule for everything further away: the printed side should equal roughly the expected scan distance divided by ten. Dense URLs, high error correction, or dim venue lighting all push that number up. Below, you’ll find the exact sizes to use by sign type.
TL;DR:
- Higher error correction levels, dense URLs, or textured materials require larger codes to ensure reliable scanning across different devices and lighting.
- Files should be created in vector formats like SVG or EPS for sizes over 5 cm, while smaller codes need at least 600 DPI PNGs to maintain edge sharpness.
- Testing printed QR codes at full size, under venue lighting, and with various phones ensures functionality and prevents common scanning failures.
- Shortening URLs before sizing the code greatly improves scan reliability, especially when constrained by space or size limitations.
Here’s the sizing chart we’d hand to any printer or designer working on event signage. It’s built around the 10:1 distance-to-size rule NN/g recommends, with a comfortable buffer added for real-world conditions.
The minimum column is a floor, not a target. Lean towards the recommended column whenever you’re dealing with older phones in the crowd, low or mixed lighting, or a textured print substrate like canvas or foam board, since all three make cameras work harder to lock focus and decode.
Whatever size you land on, protect the space around the code itself:
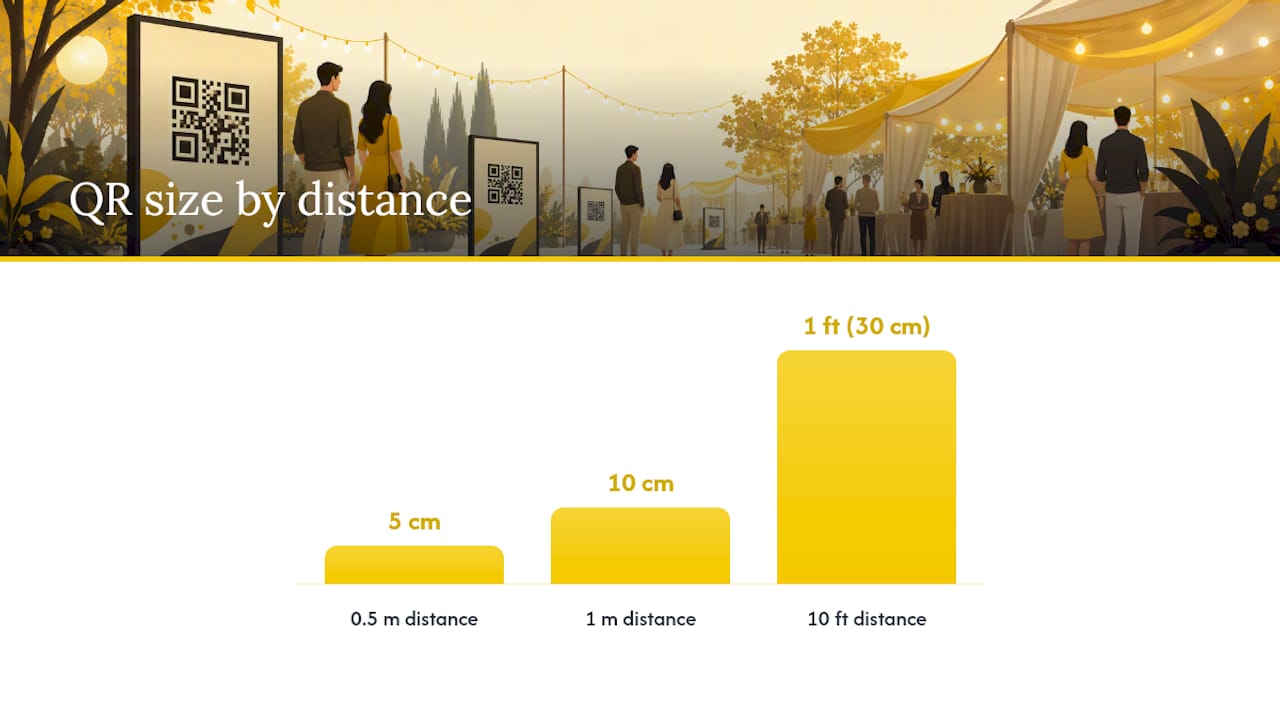
The rule is simple: printed side length ≥ scan distance ÷ 10. A code meant to be scanned from half a metre away needs roughly a 5 cm side. One planted 10 feet from the reader needs roughly a 1 foot side, since the same ratio holds in imperial units. Linked behind this ratio shows why it isn’t just a rule of thumb designers invented. It comes from how small a single module can get before a phone camera’s autofocus and sensor resolution stop resolving it reliably, which is also where module count starts to matter.
A QR code encoding a short redirect like snap-pix.co.uk/abc123 needs far fewer modules than one carrying a full tracking URL with campaign parameters. More modules packed into the same physical space means each one shrinks, so the effective minimum size climbs even though the outer dimensions look identical on screen.
Statistic to remember: practical calculators put the comfortable scan range at 8 to 10 times the printed width, meaning a 10 cm code scans comfortably from around 80 cm to 1 metre away, not just at the theoretical 1 metre limit.
Work through it in three steps:
That third step is the one most print briefs skip, and it’s usually why a code that “should” scan doesn’t.
The 10:1 rule assumes ideal conditions. Real signage rarely offers them, and several variables push the safe minimum upward.
Pro Tip: Run your foreground and background colours through a tool like the WebAIM contrast checker before you finalise artwork. A code that looks fine on a backlit monitor can fail completely once it’s printed on cream cardstock.
Vector formats (SVG or EPS) are the safe default for anything larger than a standard poster, because scaling a raster image up introduces blur exactly where sharp module edges matter most. For smaller prints, a high-resolution PNG works, but the DPI has to match the size band.
Keep the quiet zone requirement at four modules wide no matter the size, expressed in millimetres for the print file rather than left as a vague “some space around it” note. Add standard bleed and trim marks if the sign goes to a commercial printer, so the quiet zone doesn’t get accidentally clipped during trimming. On colour, black-on-white remains the safest contrast pair; if brand colours are non-negotiable, keep a fallback high-contrast version ready, and always double-check how the chosen colours convert from RGB to CMYK, since screen colours can shift once printed.
A proof that looks perfect on a laptop screen can still fail on the actual sign. Test it properly first.
Pro Tip: Test the proof face down under a phone torch angled sideways. If glare from a low angle kills the scan, a spotlit registration desk will do the same thing on the night.
Most scan failures trace back to one of a handful of avoidable errors.
A table tent guiding guests to snap and upload photos only needs a 4 cm code at typical dining-table distance, while a registration desk sign benefits from the full 8 cm recommended size, since guests often glance at it while walking past rather than standing still. In both cases, the link behind the code matters as much as its size: a short, direct link scans faster and tolerates a smaller print than a long tracking URL packed with parameters.
Events with this type of gallery run on exactly this logic. Because guests join without installing an app, the code has to work first time, at a glance, from across a room. Testing the sign at rehearsal, at the actual distance guests will stand, catches sizing problems before the reception starts. For wording that keeps the quiet zone intact around your code, the SnapPix guide to QR sign wording has ready-to-use layouts, and the photo-sharing event guide covers link-shortening choices in more depth.
The ISO 18004 standard defines module resolution and decoder expectations behind every QR code. NN/g’s usability guidelines back the 10:1 rule with real testing. The WebAIM contrast checker validates colour pairs before print, and the QuickQRTools distance calculator turns the maths into a quick lookup for any placement.
Most advice on this topic treats the 10:1 rule as the whole answer, then stops. It isn’t. The formula tells you the mathematical minimum, not the practical one, and the gap between those two numbers is where most printed signs actually fail.
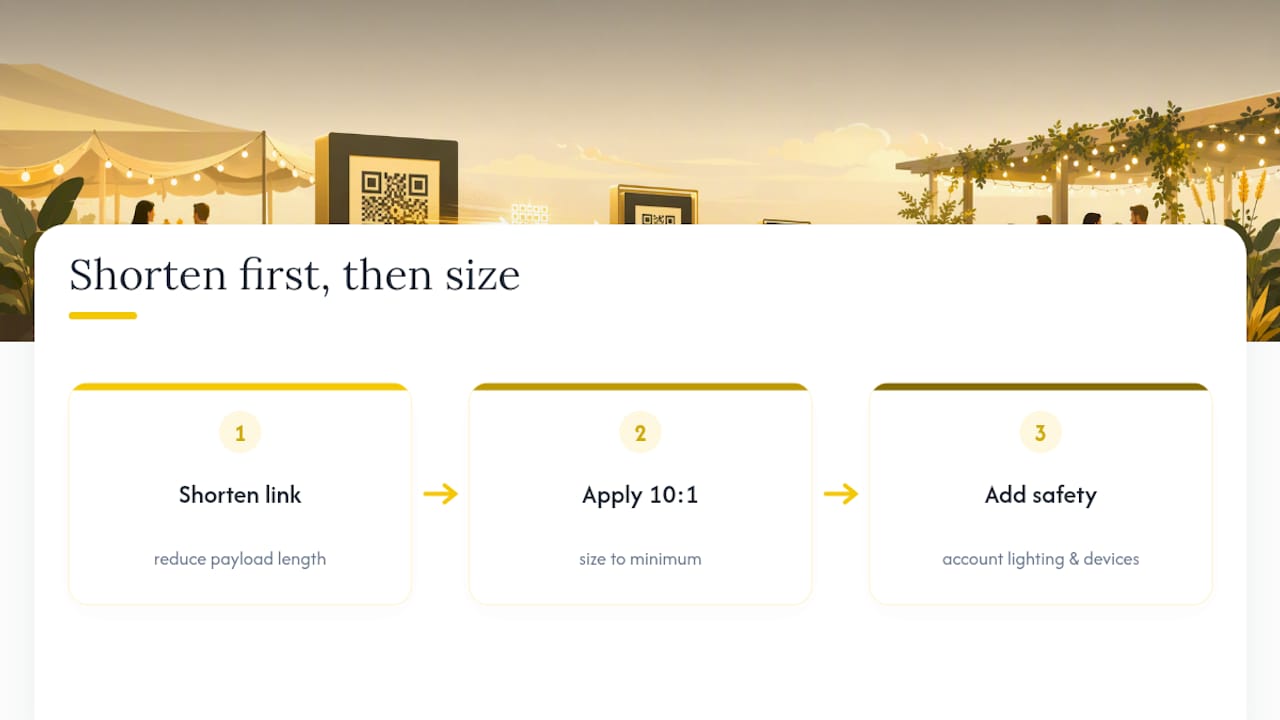
The bigger lever, and the one conventional guides underweight, is payload length. A short link scanned from a metre away is more forgiving than a long tracking URL scanned from the same distance, because module density drives real-world reliability at least as much as raw physical size does. Sizing a code correctly and then feeding it a bloated URL wastes the sizing work entirely.
If you take one thing from this, prioritise the link before the layout: shorten the payload first, then size against the 10:1 rule, then add your safety multiplier for lighting and device spread. Do it in that order and reprints become rare rather than routine.
— Liam
Getting the size right on paper still means nothing if guests can’t find your code once they’ve scanned it. SnapPix’s guest gallery features turn a correctly sized sign into a working photo collection point, with a single QR code guests can use straight from their phone’s browser, no app required, and uploads stay open for three months after the event so latecomers and long weekends aren’t a problem.

Event hosts' practical guide to posed and candid photos: perception research, hands on shooting tips, and no app guest uploads to boost candid coverage.

Which event technologies are production ready for 2026 and how to adopt them with clear consent, governance, and a no app QR photo pilot.

Which routes keep EXIF or strip GPS? Quick checks to view or remove metadata, plus a three month workflow to collect guest photos.