4 Controls to Secure Vendor Gallery Access for Photographers
SnapPix TeamPublished 11 Sept 202618 min read

Give vendors dedicated, limited gallery access, not full client galleries, using per-vendor links or groups, clear usage terms, and time-limited credentials. Set four controls before you send a single link: separate links or access groups, permission levels per vendor, media usage terms they must accept, and an expiry date or password. That combination keeps florists, planners, and caterers happy without exposing your client’s private moments.
TL;DR:
- Using separate, time-limited links or access groups with clear media usage terms prevents unauthorized sharing and maintains control over client privacy.
- Curate vendor permissions by hiding non-marketable folders, setting download limits, and requiring acceptance of image usage terms before access.
- Send vendor registration links early, automate profile reuse for recurring collaborators, and collect social handles to streamline onboarding and credit attribution.
- Lock gallery access with passwords, expiry dates, and one-time download codes to avoid unintentional long-term exposure or leaks.
- Enable platform logs or maintain a simple spreadsheet to monitor who viewed or downloaded images, supporting potential disputes or misuse investigations.
There are three practical routes, and each suits a different situation. Choosing the right one comes down to how much curation you want to do versus how quickly the vendor needs images.
Separate links win when curation matters most, groups win when you’re managing multiple vendor types at once, and QR codes win when speed on the day outranks everything else. Most working photographers end up combining all three across a single event.
Access without limits is the fastest way to lose control of your own images. Vendors don’t need to see the getting-ready candids, the awkward toast, or the family argument you happened to catch mid-frame. They need the images that make them look good in a portfolio.
Pro Tip: Watermark the preview tier but leave the approved download tier clean. Vendors rarely complain about watermarks on browsing images, but a watermark on their final portfolio piece will generate a complaint every time.
Onboarding is where most photographers lose time they didn’t need to lose. A repeatable process fixes that permanently.
Send a vendor registration link through your CRM or in the planner’s confirmation email well before the event, so vendors are set up before anyone’s rushing. For collaborators you work with regularly, add them manually to your gallery once and reuse that profile on future events, which saves the repeat data entry. On the day itself, a QR code at check-in or the vendor table handles anyone who slipped through the pre-event process.
Whichever method you use, collect the same details every time:
This last point matters more than it seems. Capturing social handles at registration, rather than chasing them after the gallery closes, is what actually saves you time down the line.
You retain copyright on every image you shoot. Vendor access grants a limited licence for a specific, agreed purpose, not ownership, and not unrestricted reuse.
Set these terms as your default, and make sure they’re visible at the point of access, not buried in a follow-up email:
A short line in your invite email covers most of this: “These images are shared for [vendor name]'s marketing use. Please credit [your business name] and tag [@handle] on any post.” For anything beyond standard portfolio use, such as paid advertising campaigns or print catalogues, ask for a written licence agreement rather than relying on an email exchange.
Pro Tip: Uncredited reuse causes more disputes than the initial access ever does, so make the credit requirement the loudest part of your terms, not the quietest.
Open access that never expires is the single biggest risk in this whole process. Lock it down with a few settings you configure once per event.
A password-protected gallery with a time-limited access window is the combination that stops a shared link from quietly becoming public property months later.
Vendors log in and create an account on first access, and many platforms log every view and download from that point onward, which gives you a running record without any extra admin.
When a platform doesn’t offer built-in logs, that spreadsheet is the fallback most working photographers rely on, and it holds up perfectly well as a paper trail if a dispute ever reaches that point.
Real events rarely go to plan, which is exactly why a no-app QR flow earns its place. Guests and vendors alike scan a code, upload or browse, and never need to download anything first.
SnapPix has already helped collect more than 4,200 guest photos across weddings and events, proof that a simple, no-app QR flow holds up under real event pressure, not just in a demo.
Balancing warmth with control is the actual job here, not a side issue. You want vendors to feel trusted, but every leaked link and every uncredited repost traces back to access that was too loose in the first place.
Do: use separate links, require terms acceptance, set expiries, credit clearly, track invites, revoke fast. Don’t: share full client galleries, skip usage terms, leave links open indefinitely.
— Liam
SnapPix is the practical alternative to juggling separate vendor spreadsheets and manual link management. It’s built around the exact workflow this article just walked through: a QR code your vendors scan on-site, a temporary gallery window instead of a permanent open link, and password protection you control from the start.
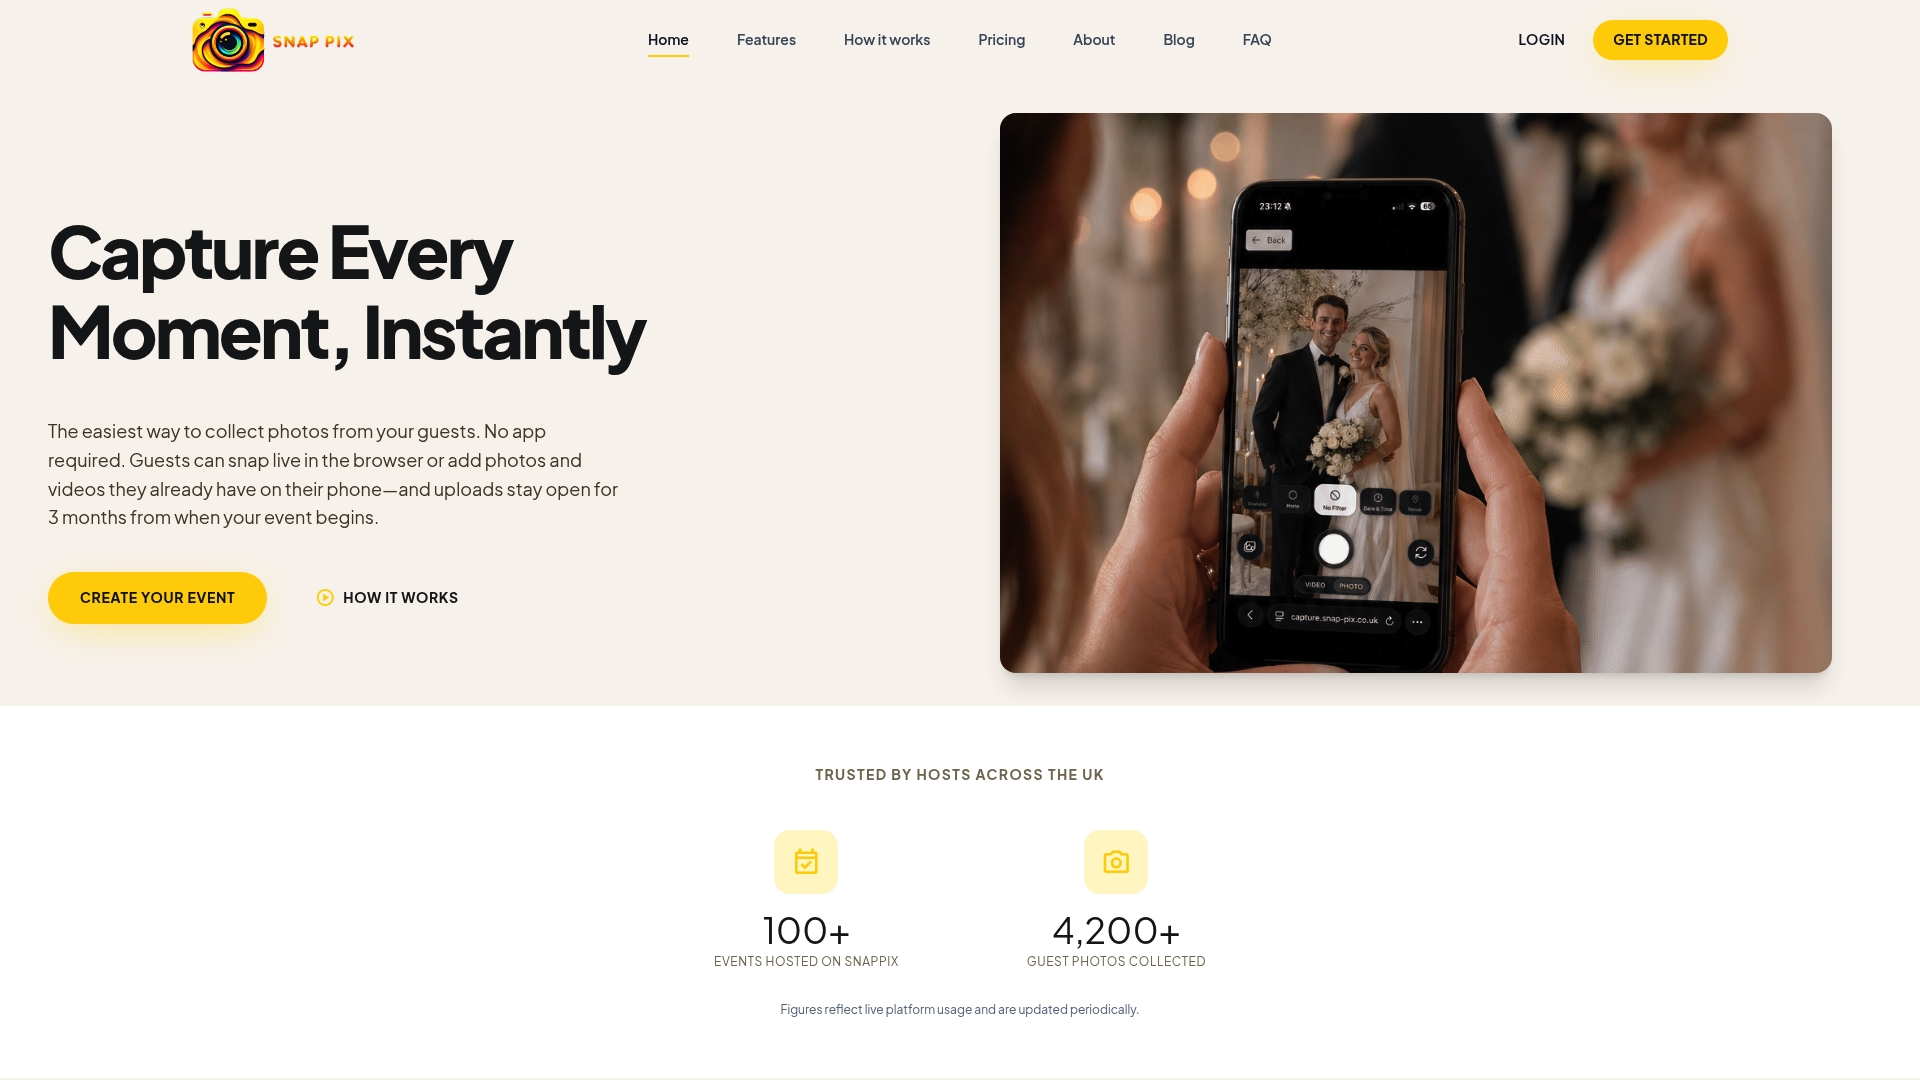
The SnapPix features page covers the full picture, including AI-driven smart albums that help sort vendor-ready shots from personal ones automatically, and the deletion policy that spells out exactly how long a gallery stays live before it closes. If you’re weighing up school or yearbook-style vendor relationships too, a dedicated yearbook photography partner can extend the same principles to that setting. Ready to see it running on a real event? Start your event gallery and set your first vendor access group in minutes.

Secure sponsor access to event photos with a host controlled workflow. Use time limited QR links, view only tokens, instant revocation, and access logs.

A practical host first workflow: collect no app QR uploads, keep moderation and professional curation, set retention and backup plans so you stay in control.

Event hosts' practical guide to posed and candid photos: perception research, hands on shooting tips, and no app guest uploads to boost candid coverage.