Avoid Dead QR Code Photo Booths: 10:1 Print Rules for Event Hosts
SnapPix TeamPublished 28 Sept 202623 min read

A QR code photo booth lets guests open a browser, take or upload photos and share them, with no app required. Guests scan a code, land on a gallery page, and either snap a picture or pull one from their camera roll straight into the shared album. It suits hosts who want fast, low-friction sharing across a big guest list, though reliable scanning depends on getting the QR code’s size and placement right.
TL;DR:
- The size and placement of the QR code are critical; printing it at roughly one tenth of the expected scanning distance and ensuring a clear quiet zone prevents most scan failures.
- Testing the printed QR code under event lighting, in the final size and at the actual guest scanning distance, is essential to verify functionality before the event starts.
- Glare from glossy finishes and damage or smudging on the print can cause scanning issues, so matte finishes and high-resolution vector files are recommended.
- Troubleshooting common problems involves checking code size, contrast, glare, and ensuring the Wi-Fi or mobile signal is reliable during the event; a backup QR code or manual help station is advisable.
- SnapPix offers a no-app browser-based upload system with AI-curated albums and photo challenges, ideal for large, dispersed crowds at social or corporate events.
Most QR code photo booths run on a session-specific link tied to your event, not a fixed generic code. That link opens a browser page rather than an app, which is the detail that makes the whole system work without asking guests to install anything.
The guest journey is short by design:
Behind that simple flow, hosts get a set of controls that shape how the event actually runs. You typically choose whether the gallery is public or password-protected, how long the upload window stays open, and whether guests can see other guests’ uploads or only their own. Our guide to QR codes for guest uploads walks through how these settings connect to the link guests scan on the day.
The trade-off worth knowing before you commit: browser-based QR booths are easier to set up and cheaper to run than a hardware kiosk, but they lean on guests’ own phone cameras rather than a dedicated capture rig. You lose the studio lighting and instant prints a staffed booth offers, and you gain a setup that works for every guest regardless of what phone they carry or whether they fancy downloading anything new.
Getting a QR photo booth right is mostly a matter of testing before the first guest arrives, not on the day itself.
The proofing step matters more than most hosts expect. A code that scans instantly on your phone at your desk can fail completely once it is printed smaller, laminated, or lit by a spotlight rather than daylight.
Pro Tip: Print a test copy at the final size and scan it from the actual distance guests will stand, not from your hand, before you approve the full run.
Most scan failures at events trace back to three things: a code printed too small, a border that crowds the code, or a glossy finish that throws glare under venue lighting.

The sizing rule that print guides converge on is straightforward: size the code to roughly one tenth of the expected scanning distance, known as the 10:1 rule, and add a margin because real venues rarely match ideal conditions. For anything scanned at arm’s length, the practical floor is about 2 cm by 2 cm, and printing smaller than that for an important placement is asking for trouble.
Every code also needs breathing room. A quiet zone of at least four modules on every side keeps the scanner able to distinguish the code from its background, and logos or decorative borders that intrude on that space are one of the most common causes of failed scans.
A few more habits that keep print jobs reliable:
Placement drives size more than any other factor, and it helps to plan by where the code will actually sit:
For restaurant-style table signage, the same layout principles that govern menu QR design apply just as well to a place card at a wedding table: keep the code central, keep text minimal, and never let a decorative frame eat into the quiet zone.
Once the code is printed and tested, the job shifts to making sure guests actually understand what to do with it. A single line of signage does most of the work: “Scan, snap, and share, no app needed.”
Give guests a few sharing routes rather than just one:
When a scan fails, the cause is almost always one of a short list. Real-world troubleshooting from photo-booth deployments points to tiny printed codes, glare, and expired links as the recurring culprits, alongside quiet-zone intrusions and low contrast between the code and its background. Check size against distance first, then check for glare, then check the print itself for damage or smudging.
Keep a backup ready regardless of how careful your setup was. A printed short URL as a fallback, a staffed table where someone can help guests manually, and the ability to refresh or reprint the code if a copy gets damaged will all save an event from a dead QR code. Our notes on signage for party guests cover wording that keeps instructions short enough to read at a glance.
Pro Tip: Keep your upload link active through the whole event, not just the peak hour, since guests often upload photos from earlier moments once they see others sharing theirs.
SnapPix builds directly on the checklist above. Guests scan a QR code, land on a browser page, and upload straight from their camera roll or capture a photo on the spot, with no account and no app to install. The upload window stays open for a limited time after the event, allowing latecomers and out-of-town guests some opportunity to add photos taken during the event.
Two features go beyond a basic upload page. AI-driven smart albums sort the incoming photos into a curated gallery rather than leaving hosts to scroll through a flat feed, and built-in photo challenges nudge guests toward specific shots, which tends to lift participation beyond passive uploading. Every setting from the checklist, gallery privacy, retention window, guest list controls, maps onto SnapPix’s event dashboard, so the same 10:1 sizing and quiet-zone rules apply to the QR code SnapPix generates for print. More detail on how the upload flow and privacy controls fit together sits in our explanation of the collection process.
QR booths earn their place at events where guests are spread across a room, a garden, or several floors, and where the priority is getting everyone’s phone photos into one place fast. High-traffic social events, weddings, and corporate parties all fit that pattern well.
A staffed kiosk or a print-capable booth still wins when the point is the physical print in someone’s hand, a controlled backdrop, or props and a proper studio flash. The two are not mutually exclusive: a QR code for casual uploads alongside a small staffed help desk covers both the guests who want a quick scan and the ones who want a bit of ceremony.
— Liam
Every setup step in this guide, the sizing, the privacy controls, the retention window, is already built into SnapPix’s event flow, so you are not assembling these pieces yourself. Guests scan, upload from their camera roll or capture live, and everything lands in one gallery with no app to download and no account to create.
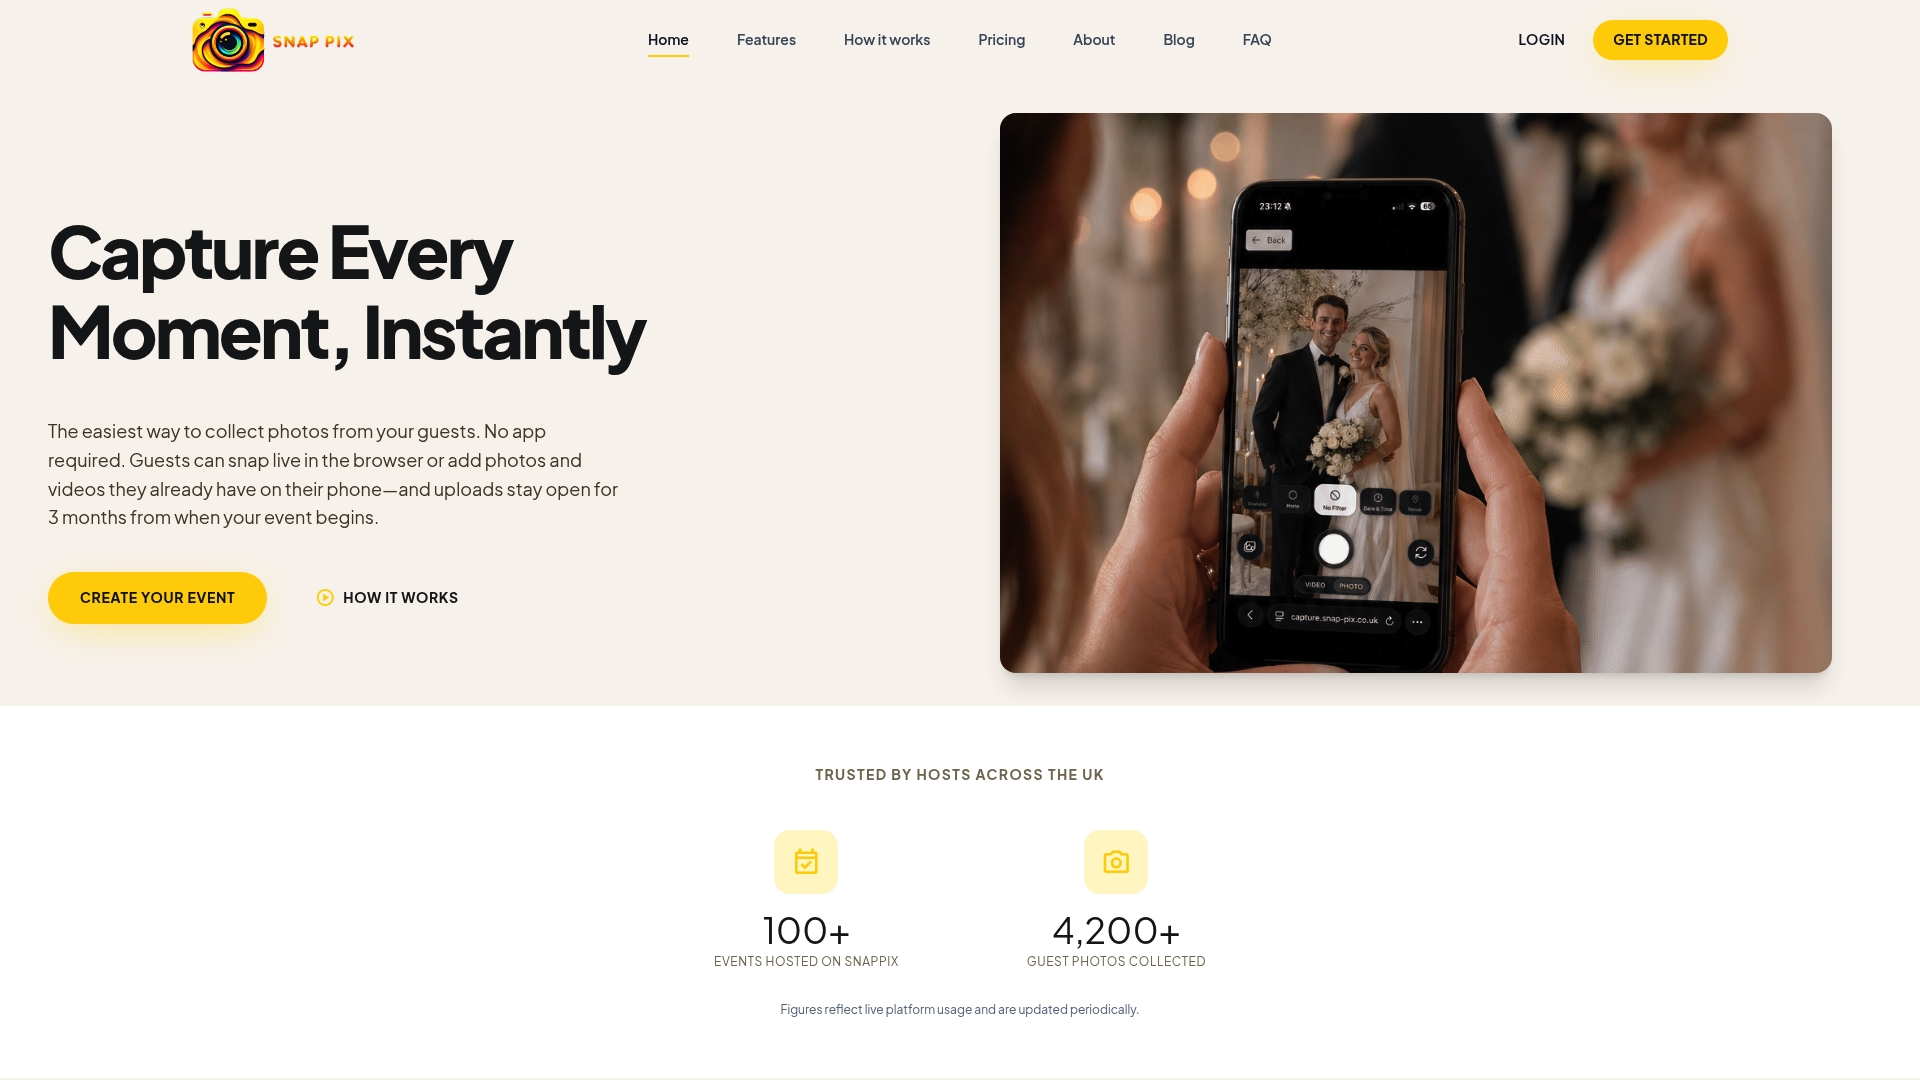
Full Event Access costs £14.99 as a one-off payment per event on the SnapPix pricing page, covering unlimited guest uploads, AI smart albums and photo challenges with no hidden extras, and a Free plan is available if you want to try the flow first. For signage wording and proofing steps before the big day, our wedding QR code guide walks through the exact placements covered above.
Yes, most modern QR code photo booths work by having guests scan the code with their own phone camera, which opens a browser page for uploading or capturing a photo. No dedicated scanner or app is needed on the guest’s side.
Point your phone’s camera at the printed or displayed code until it recognises the pattern and shows a link, then tap that link to open the browser page. From there you can take a photo or upload one from your camera roll directly into the event gallery.
No, browser-based QR photo booths like SnapPix are built specifically to avoid app downloads, so scanning the code opens a normal web page instead. This removes the friction of asking guests to install something just to share a photo.
You scan the printed code with your phone camera, open the gallery link it produces, and either view the photos there or use the download option to save them to your device. Some galleries also offer direct sharing buttons to social platforms or an AirDrop fallback for Apple guests, a feature several photo-booth guides highlight for speed.

Secure sponsor access to event photos with a host controlled workflow. Use time limited QR links, view only tokens, instant revocation, and access logs.

A practical host first workflow: collect no app QR uploads, keep moderation and professional curation, set retention and backup plans so you stay in control.

Event hosts' practical guide to posed and candid photos: perception research, hands on shooting tips, and no app guest uploads to boost candid coverage.