Stop Failed Scans: 3 Production Rules for Event QR Code Signage
SnapPix TeamPublished 27 Sept 202628 min read

Get three things right and your event QR signage works every time: print at the correct quiet zone and contrast, test the final proof on the actual material and lighting, and send each code to one clear destination. Use dynamic codes when you need to update details or track scans. SnapPix is one practical example of a QR workflow built specifically for collecting guest photos.
TL;DR:
- Using dynamic QR codes is recommended for events where the destination may change, as they allow for easy updates and scan tracking.
- QR codes should be printed with a quiet zone four times the X-dimension and high contrast to ensure reliable scanning in various lighting conditions.
- Placement and size should be based on viewing distance, with larger codes for outdoor or large displays and careful positioning to avoid competing or obstructed codes.
- Signage CTAs must clearly state what happens after scanning, using brief, action-oriented language to maximize scan rates.
- Verify all QR print proofs under actual event conditions, testing for contrast, glare, and environment-specific issues to avoid costly reprints or failed scans.
A QR code only earns its space on a sign if it takes someone somewhere useful for that exact moment. An entrance sign pointing to a generic homepage wastes the scan; the same sign pointing straight to check-in gets people through the door faster. The rule is simple: one sign, one job.
Think about what attendees are trying to do at each location and match the destination to it.
Single-purpose links convert better because there’s no decision fatigue at the point of scanning. A guest glancing at a sign for two seconds needs to know exactly what happens next, and a catch-all link that tries to serve five purposes usually serves none of them well.
Most QR failures at events come down to print quality, not the code itself. The GS1 2D barcode creation and printing playbook sets the quiet zone for QR codes at four times the symbol’s X-dimension on every side, and treats that space as part of the code’s footprint rather than a design nicety.
GS1 recommends around 50% contrast between the code and its background for reliable scanning, with black-on-white commonly exceeding 70%, according to the GS1 2D barcode colour and quality guide. That gap between the recommended minimum and what plain black-on-white achieves is worth noting: it’s the safest combination for signage that has to work in mixed lighting.
A few production rules follow from this directly.
That last point carries a trade-off. Higher error correction gives the code more room to survive damage or obstruction, but it also increases the symbol’s size and eats into the tolerance you’d otherwise have for print defects or dirt on the surface. It’s a buffer you spend once, not one you get twice.
Size and placement decisions should start with viewing distance, not with how much space is left on the layout. A badge or table card gets scanned at arm’s length, so a small, dense code is fine. A poster or digital display gets scanned from several paces away, and the code needs to be considerably larger to compensate.
Design guidance for out-of-home and large-screen signage recommends relatively large codes enabling activation from several feet away, such as those sized for 55-inch displays to allow scanning from four to seven feet, according to tips for out of home designers. At arm’s reach, smaller codes of around 3 to 3.75 inches (120 to 150 pixels) tend to work well. For exact print-ready dimensions, a ready-to-print sizing table is a useful reference when briefing a printer.
Placement matters as much as size.
Choose a dynamic code whenever there’s a real chance the destination will change, and a static code when the link is genuinely fixed for good. Static codes are cheaper and simpler because the destination is baked into the pattern itself, but any change to the URL means reprinting every sign that carries it.
Dynamic codes route through a redirect service, which means you can repoint the destination after printing, reuse the same banner across multiple events, and pull scan analytics to see what’s actually working. Partner tools such as Gleanit specialise in this kind of scan measurement, and it’s worth checking whether the extra cost is justified by what you’ll actually do with the data.
A few situations where dynamic pays for itself.
On file formats: keep a high-resolution SVG or PDF for anything going to print, and export a PNG only for quick digital previews or slide decks.
The wording next to a QR code does more work than the code itself. A sign that just shows a code with no context leaves people guessing, and guessing kills scans. Use a direct verb and say precisely what the action delivers: “Scan to register”, “Scan to upload photos”, “Scan to get the slides”.
Pro Tip: Add a small “no app needed” phrase near the CTA. It removes the single biggest hesitation people have before scanning a code they don’t recognise.
For wedding-style events specifically, a wording checklist for QR signs has tested phrasing you can adapt.
Reprints are expensive and avoidable. Most of them trace back to a proof that looked fine on screen but failed on the actual material. Build these checks into your sign-off process rather than trusting a digital preview.
Pro Tip: Nominate one person to own final sign-off. When three people each assume someone else checked the proof, nobody actually did.
Guidance on evaluating QR-based capture in real environments notes that even well-designed codes have limits: missed scans and environmental factors mean you should treat QR data as one input, not the whole picture, according to wayfinding research on QR evaluation.
A code that scans flawlessly in the print studio can fail completely on the day if the venue’s lighting or weather works against it. Bright sunlight through a marquee, harsh overhead spotlights, or a glossy laminate finish can all throw glare directly across the symbol, blocking the camera’s read.

Outdoor signage faces its own problems: rain spotting on paper, wind causing banners to flap and blur under a moving camera, or direct sun bleaching contrast out of a printed sheet over the course of a day. Indoor venues have the opposite issue sometimes, with dim ambient lighting making low-contrast codes hard for a phone camera to lock onto at all.
The fix is mostly about testing in the actual conditions rather than a bright, evenly lit office. Check the sign under the lighting it will actually sit in, at the time of day it will be used, and on the finish it will actually be printed on. A matte laminate scatters light far better than a glossy one, which is worth specifying to your printer up front rather than discovering on site. If a sign sits outdoors, consider weatherproof stock and a sheltered mounting position rather than relying on the code’s resilience alone.
QR signage only works for people who can see it, hold a phone steady enough to scan it, and reach a page that renders properly once they land. Landing pages should be responsive and readable on a small screen, with buttons large enough to tap without zooming and text that works for someone using a screen reader.
If the code collects photos, personal details or RSVP information, say briefly on the landing page what happens to that data and how long it’s kept, with a link through to the full policy rather than burying the detail. Guests should not have to hunt for it.
Mobile-first design is not optional here. QR scanning depends entirely on smartphone camera adoption, and mobile usage data from Pew Research confirms just how central phones have become to how people expect to interact with signage now.
For events built around capturing candid guest moments, the workflow is straightforward: create a gallery, generate its QR code, print and place the signage, then let guests scan and upload directly from their phones while the organiser curates the results afterwards.

Guests can scan, upload photos from their camera roll or take photos in the browser, and the gallery typically stays open for a set period after the event. Automated smart albums organize the uploads, and photo challenges encourage guests to keep contributing throughout the day.
For the full set-up sequence, a guide to QR photo sharing for events walks through gallery creation, and a guide for guest photo uploads covers the sign wording that works best at the point of scanning.
The instinct is to make the sign look polished before making sure it scans reliably every time. That’s the wrong order. A beautifully branded code that fails one scan in five costs you more goodwill than a plain black-on-white code that never misses.
Get the quiet zone, contrast and proof testing right first. Branding, colour and analytics are worth adding, but only once the basic mechanics are dependable.
— Liam
If your QR signage needs to do one job well, collecting guest photos without asking anyone to install anything, a no-app platform can help. Guests scan, upload photos or shoot in the browser, and each photo lands in a gallery that remains live for several months. Automated albums keep things organised, and photo challenges encourage ongoing guest participation.
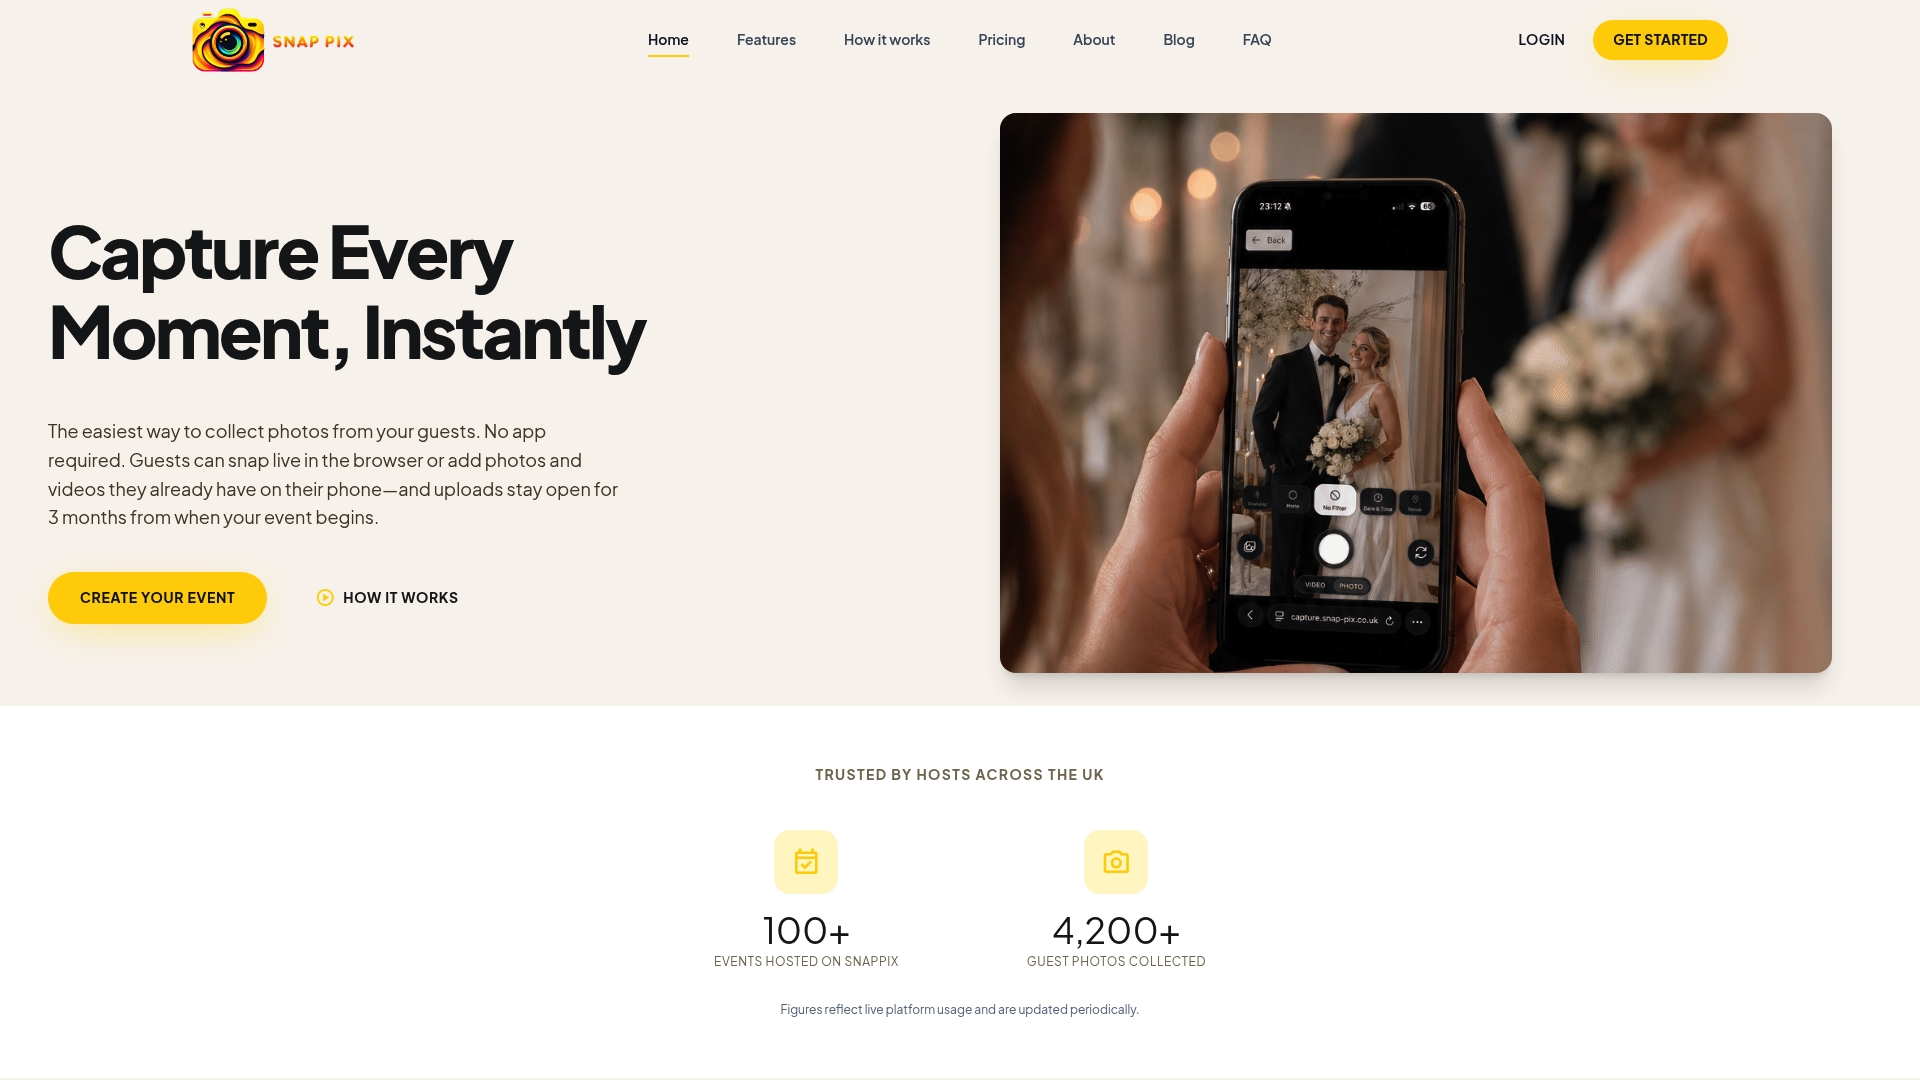
Full Event Access costs £14.99 one-off per event, with a Free plan available if you want to try the workflow first. Visit the SnapPix features page to see the full set, or head straight to pricing to get your gallery set up before your next event.
Generate the code through a registration or event platform that supports dynamic links, so you can point it at your sign-up form and update the destination later if needed. Print it following the quiet zone and contrast rules from the GS1 printing playbook, then test the physical proof before the full run.
Security warnings around QR codes generally caution against scanning codes from unknown or tampered sources, since a malicious code can redirect to a fake login page or trigger a download. For event signage, the practical defence is printing codes yourself from a trusted platform and avoiding stickers placed over existing signs by unknown parties.
Yes, several event platforms offer free tiers for generating basic QR codes, though free plans typically limit features like analytics or dynamic repointing. SnapPix offers a Free plan alongside its Full Event Access plan at £14.99 one-off per event for guest photo collection specifically.
Free QR code generators exist for basic static codes, which work fine for a fixed destination that won’t change. If you need to update the link later or track scans, a dynamic code service is usually worth the small extra cost over relying on a free static generator.

Event hosts' practical guide to posed and candid photos: perception research, hands on shooting tips, and no app guest uploads to boost candid coverage.

Which event technologies are production ready for 2026 and how to adopt them with clear consent, governance, and a no app QR photo pilot.

Which routes keep EXIF or strip GPS? Quick checks to view or remove metadata, plus a three month workflow to collect guest photos.