Two Outputs for Organizers: Event Photo Curation with No App Uploads
SnapPix TeamPublished 24 Sept 202632 min read

Event photo curation means centralising every guest and photographer upload, then sorting that pile into two clear outputs: a broad narrative album and a tight highlight set, shared under clear access controls. Start today by setting up one QR code or upload link so every photo lands in a single place. From there, curation becomes a simple three-phase job instead of a scramble.
TL;DR:
- Using no-app browser-based uploads significantly increases guest participation and the total number of photos collected.
- Implementing a single moderator to monitor uploads in real time prevents file clutter and maintains gallery quality, reducing post-event cleanup time.
- A two-output curation approach, with separate narrative albums and highlight sets, prevents overwhelm and ensures each audience gets relevant content.
- Structuring photo storage by event phase and tagging with metadata or AI labels makes future search and retrieval efficient for long-term use.
- Keeping high-resolution masters in multiple locations with embedded metadata ensures archive integrity and ease of future reprints or edits.
Event photo curation is really a timeline problem disguised as a photo problem. Get the phasing right, and the sorting itself becomes easy. Get it wrong, and you’ll spend weeks chasing files scattered across ten different phones.
Here’s how the three phases break down:
Each phase feeds the next. Consent language agreed before the event makes moderation during the event faster, because your team already knows the rules. And a clean, deduplicated upload folder after the event means your AI-first cull actually works properly instead of choking on near-identical burst shots. Treat the three phases as one pipeline, not three separate jobs, and the whole thing takes a fraction of the time.
The method you choose for collection decides how many photos you actually get. Ask guests to download an app before they’ll upload anything, and most simply won’t bother. No-app QR or browser-based uploads remove that friction entirely: guests scan a code, open a browser tab, and upload straight from their camera roll. That single change tends to be the biggest lever you have over final photo volume.
Photographer handovers need a different kind of care, because copyright in a photograph sits automatically with whoever pressed the shutter. If you’ve hired a professional, get the usage terms in writing before the event, not after. A work-for-hire agreement or explicit usage licence settles who can use the images, where, and for how long, and separate consent is needed if you plan to use identifiable guests in marketing.
Social hashtags can widen your net, particularly for public or large-scale events, since they let you discover photos you’d never have collected directly. The trade-off is rights: a hashtag mention isn’t consent to reuse someone’s photo commercially, so treat hashtag finds as leads to follow up on, not assets you already own.
Before you collect a single photo, decide and communicate:
Pro Tip: Print your QR code large enough to scan from three metres away, and place it somewhere guests naturally pause, like a welcome table or bar, not just on the invitation.
Selection is where most organisers get overwhelmed, because it’s genuinely the hardest step. The fix is running a two-output strategy rather than trying to build one perfect gallery. Build a broad narrative album that preserves the full story of the day, and a separate, much shorter highlight set designed purely for social sharing or marketing. Splitting the outputs this way stops you drowning your audience in redundant shots while still keeping the archival record complete.
Work through selections in a fixed order rather than eyeballing everything at once:
Running technical checks last, not first, matters more than it sounds. A technically perfect photo of an empty dance floor is worthless next to a slightly soft shot of the groom crying during his speech.
A hybrid AI-plus-human approach handles the volume problem well. AI-assisted culling can cut the mechanical sorting phase from hours to minutes on large shoots, clearing out the obviously unusable frames so a human reviewer can focus entirely on judgement calls the software can’t make.
A useful benchmark: for a typical four-hour corporate event, a final select-to-capture ratio of roughly 10:1 to 15:1 is a reasonable target, with AI handling the bulk of mechanical rejects before the human story pass begins. A wedding shot across a full day will usually land at a similar ratio for the narrative album, tightening much further, often below 50:1, for the highlight set.

A beautifully curated gallery is only useful if someone can actually find the shot they need six months later. Structure your folders and albums around event function, not just chronology, because that’s how people actually search: “I need the keynote shots” or “pull the sponsor wall photos for the recap deck.”
A structure that tends to hold up well groups images by moment type within the event, for example:
Metadata does the heavy lifting behind that structure. The Library of Congress recommends preserving embedded IPTC and EXIF data on every master file, because that metadata carries the date, camera settings, and often the photographer credit, all of which becomes near-impossible to reconstruct later if it’s stripped out during editing or export.
Face and scene tagging adds another layer of findability on top of folder structure. AI tagging systems generate searchable labels for faces, objects, and scenes automatically, which turns “find every photo with the CEO in it” from a manual scroll into a search query. The same tagging lets a marketing team pull “5 speaker shots” or “10 networking candids” in seconds rather than opening every file individually. Just make face tagging opt-in where guests haven’t explicitly agreed to it. Read more on organising event photos with a practical workflow for a fuller breakdown of folder logic by event type.
Sharing photos widely and respecting guest privacy aren’t actually in conflict, provided you build consent into the process rather than bolting it on afterwards. A layered approach works best:
Curation only matters if the files survive. Always keep the highest-resolution master file you can, ideally TIFF or DNG format if the photographer can supply it, and only export smaller JPEGs for quick sharing or social use. Never overwrite or rescale the master itself.
Preserve the colour profile and embedded metadata on every master file, since stripping either during export makes future reprints or re-edits far harder. The Library of Congress’s preservation guidance is built specifically around this principle: keep the highest-quality version untouched, and treat everything else as a derivative.
A short archival checklist covers most organisers’ needs:
Whether to ask a hired photographer for RAW files or high-quality JPEGs comes down to how much post-production control you need. RAW files give you far more latitude to fix exposure and colour later, but they’re large and need dedicated software to open. For most events, requesting RAW for the master archive and JPEG exports for everyday use covers both bases. One useful discussion on why skipping raw files for wedding photography carries real trade-offs is worth a read before you finalise your contract terms with a photographer.
Not every event needs a dedicated platform. A single shared cloud folder and a manual cull works perfectly well for a birthday party with forty guests and one designated photo-gatherer. The moment you’re running a wedding with 150 guests, a multi-day conference, or any event where photos are arriving from dozens of phones simultaneously, a folder-based approach starts to buckle under its own weight.
When you’re evaluating whether an event-focused platform earns its keep, check for these capabilities:
Integration matters just as much as features. Confirm the platform exports cleanly to Lightroom or similar editing software, backs up automatically to the cloud, and lets you push a curated set straight to social sharing without a manual re-upload. For multi-day events specifically, this multi-day gallery workflow guide covers the logistics of managing QR uploads across several dates without the gallery becoming unmanageable.
Pro Tip: Test your chosen upload method with a handful of colleagues before the event itself. A broken QR link discovered on the day is one of the most avoidable failures in the entire process.
SnapPix is built around exactly the friction points covered above. Guests scan a QR code and upload straight from their browser, no app required, and every photo lands in one place automatically. AI-driven smart albums sort uploads without manual folder-building, moderation queues keep unsuitable content out before it’s visible, and password-protected galleries keep access limited to invited guests.
The platform has collected thousands of guest photos across various events, including weddings, corporate gatherings, graduations, and birthday parties. Hosts typically have a multi-month upload window, allowing time for photos taken on the night and those that surface once guests get home and sort their own camera rolls. That window, combined with AI smart albums and simple moderation, turns the “before, during, after” workflow into something a single organiser can run without a full production team behind them.
If there’s a single habit that separates organisers who deliver a clean gallery on time from those who spend three weeks chasing files, it’s this: assign one named moderator before the event, not during it.
Every guide on privacy and consent stresses layered notice and clear access controls, and rightly so. But none of that matters if nobody’s actually watching the upload queue in real time. A single moderator with clear authority to approve, flag, or reject uploads resolves disputes before they escalate and keeps the gallery clean without a committee decision. Pick that person this week, before your next event, and brief them on the three-touch consent plan before the doors open.
— Liam
SnapPix removes the collection headache entirely by letting guests upload straight from their phone’s browser with a single QR scan, no app, no account, no friction. Every problem covered in this guide, scattered uploads, missed moments, manual moderation, unsearchable files, maps directly onto a feature already built into the platform.
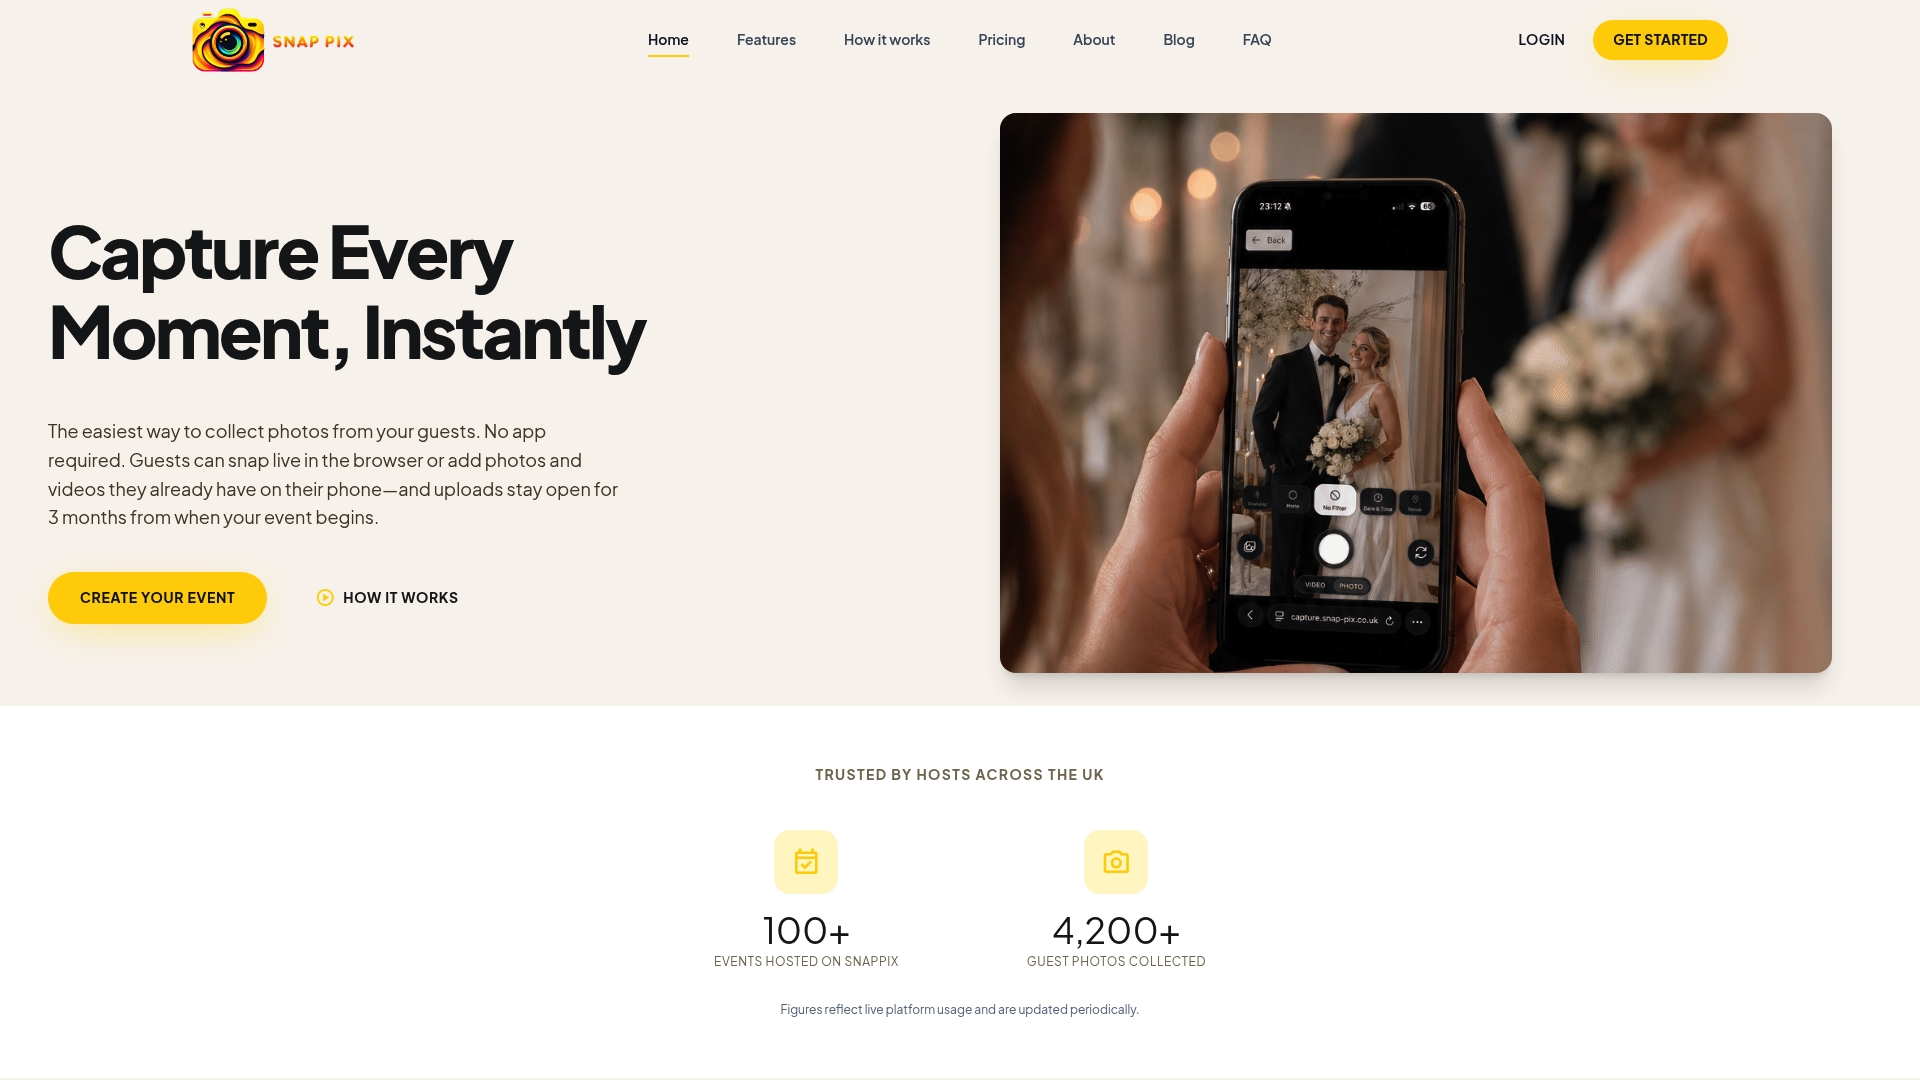
Hosts get AI-driven smart albums that sort photos automatically, photo challenges that nudge guests to capture more candid moments, and a digital guest book that adds messages alongside the images. Every gallery stays password-protected, with a three-month upload window that gives late uploaders plenty of time to add photos after the event ends. Full detail on how galleries stay accessible, and for how long, sits in this temporary photo sharing guide, and the platform’s deletion policy covers exactly how guest requests to remove content get handled.
Full Event Access costs £14.99 as a one-off fee per event, covering unlimited guest uploads and the full feature set with no hidden extras. Check the feature list to see the full toolkit, then set up your event gallery ahead of the next date on your calendar.
For copyright and photographer contracts, the TS Firm guide to copyright law for photographers explains who owns what and when. For preservation basics, the Library of Congress’s still image guidance sets the standard most archivists follow. On workflow, the FilterPixel culling guide and Saucial’s piece on AI image tagging cover the technical side, while Photogala’s privacy guide is the clearest reference on consent and moderation.
Photo curation is the process of selecting, organising, and presenting a smaller set of meaningful images from a much larger pool of captures. In an event context, that means turning hundreds or thousands of raw uploads into a coherent narrative album plus a tight highlight set, guided by criteria like coverage, expression, and technical quality rather than keeping every shot taken.
The best option depends on scale: a shared cloud folder suits small, casual gatherings, while larger events benefit from a dedicated platform. Some platforms offer no-app QR uploads, AI smart albums, and password-protected galleries for weddings, corporate events, and parties of various sizes.
Photo booth pricing varies widely by region and rental duration, and no single figure holds across the market, so it’s worth requesting quotes directly from local vendors. A photo gallery platform like SnapPix, by contrast, has a fixed one-off fee of £14.99 per event for full access, covering unlimited guest uploads rather than hourly rental costs.
SnapPix charges a one-time flat fee per event for its Full Event Access plan, which unlocks unlimited guest uploads and the full feature set for that event. A Free plan is also available for hosts who want to try the core upload experience before committing.
Most guides recommend leaving uploads open for at least a few weeks, since not every guest transfers photos from their phone the same night. The upload window is often set at multiple months by default, giving late uploaders ample time without leaving the gallery open indefinitely.

Event hosts' practical guide to posed and candid photos: perception research, hands on shooting tips, and no app guest uploads to boost candid coverage.

Which event technologies are production ready for 2026 and how to adopt them with clear consent, governance, and a no app QR photo pilot.

Which routes keep EXIF or strip GPS? Quick checks to view or remove metadata, plus a three month workflow to collect guest photos.